
Last updated November 2, 2026
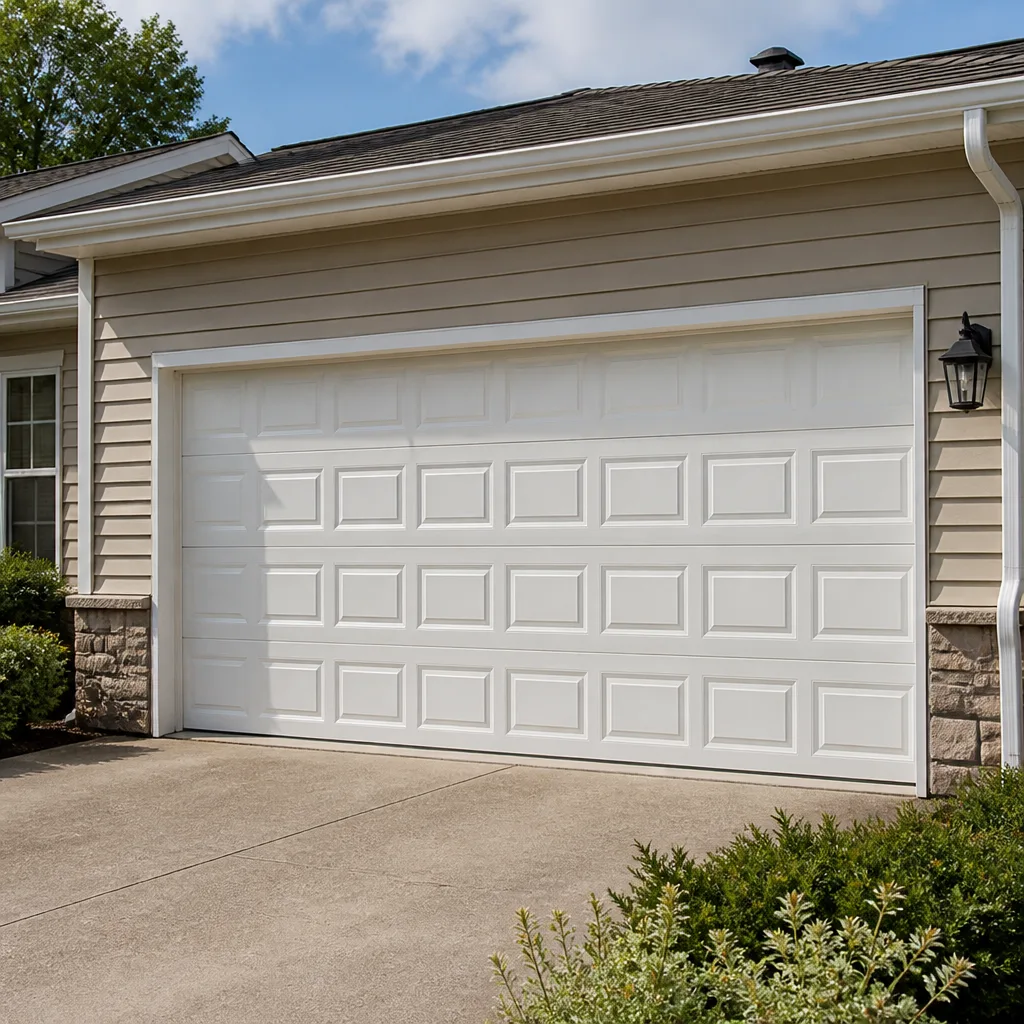 Raised-panel steel
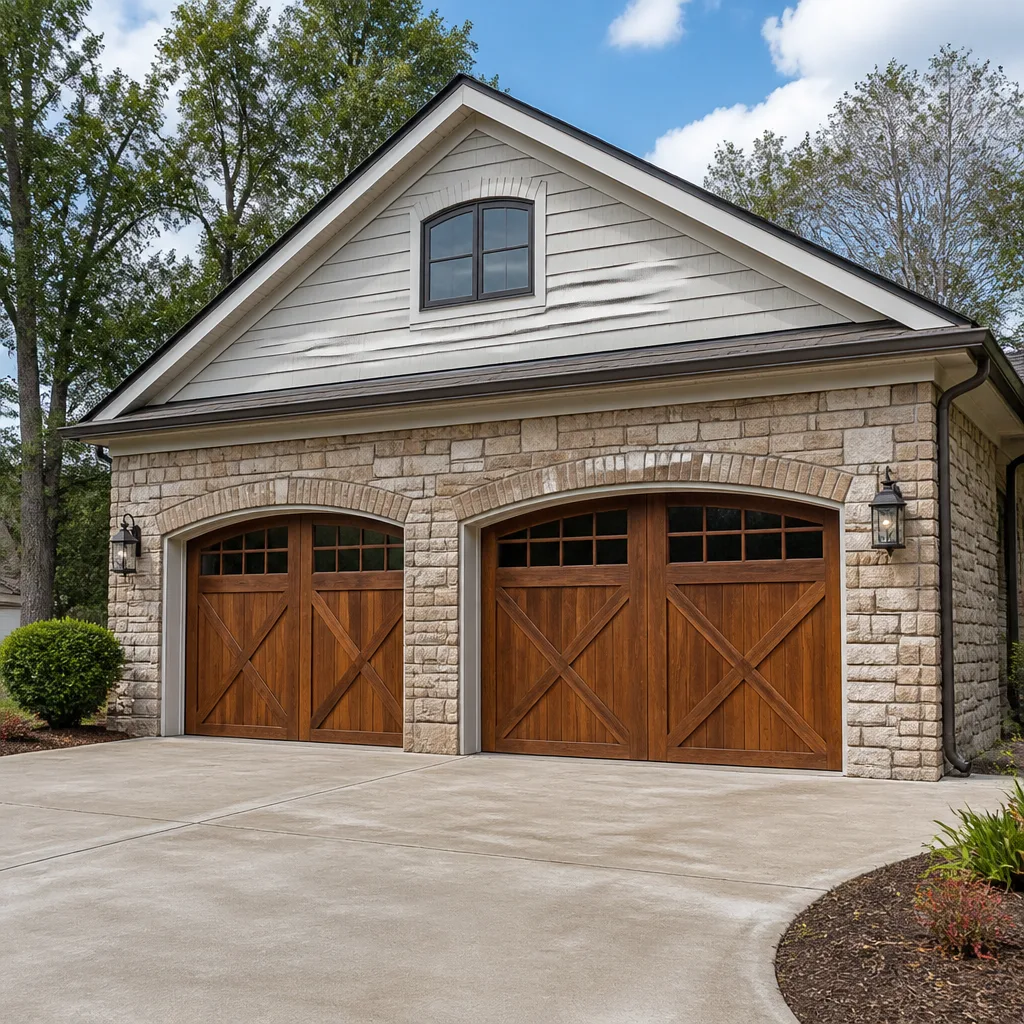 Carriage house
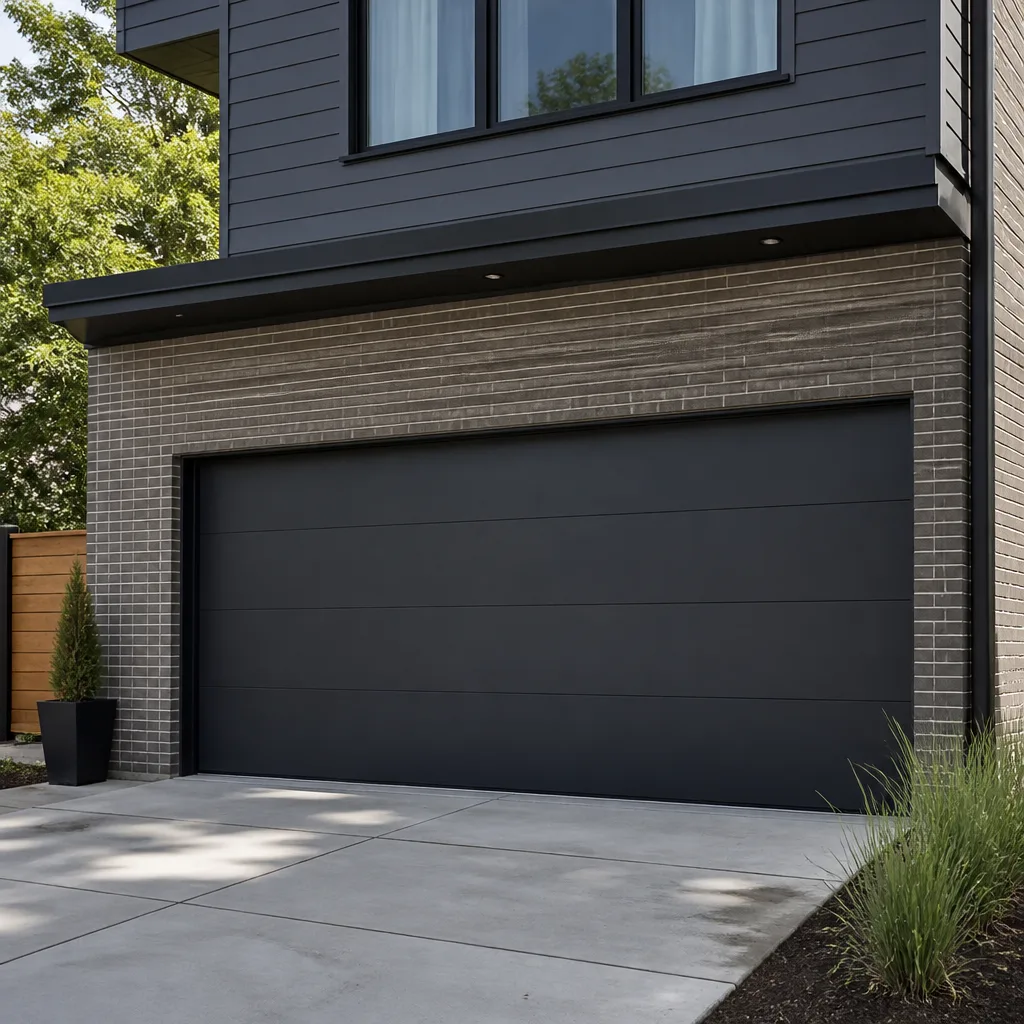 Modern flush
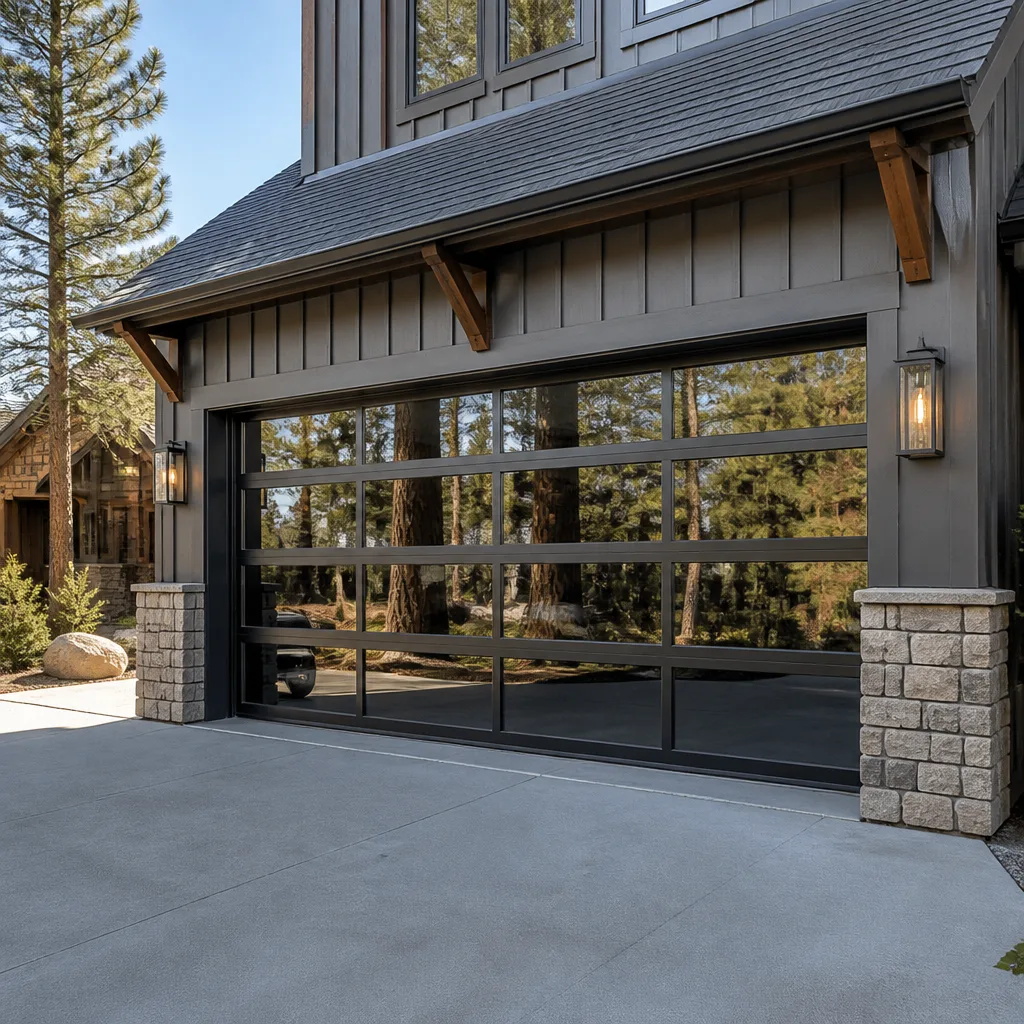 Full-view glass
 LiftMaster openers
 Chamberlain openers
Full 25-point door and opener safety check with every visit - springs, cables, rollers, tracks, and your LiftMaster or Chamberlain opener included
You get a price before we start. It does not change when the truck arrives.
Get your free estimateGarage Door Repair Troubleshooting: Common Problems and How to Fix Them
A garage door that reverses before hitting the ground gets blamed on the safety sensors roughly 90% of the time in online forums and YouTube comments. In practice, we see the exact same behavior in Studio City homes caused by a misadjusted close-force setting or a warped bottom seal, while the sensors sit there perfectly aligned and working fine. This guide works the way a technician actually thinks: starting with what your door is doing, then branching to the real root cause. You’ll learn how to separate opener problems from spring problems from track problems before you spend a dollar on parts or a service call.
Styles & brands we work with
- Raised-panel steel
- Carriage house
- Modern flush
- Full-view glass
- LiftMaster openers
- Chamberlain openers
Quick Answer
Garage door troubleshooting starts with one question: what is the door actually doing? A door that won’t move at all usually points to the opener, power source, or a broken spring. A door that moves partially or reverses mid-cycle usually points to force settings, sensors, or track obstruction. A door that moves but sounds wrong usually points to worn rollers, loose hardware, or spring wear. Identify the behavior first, then investigate the likely culprits in that branch.
Table of Contents
- The Door Won’t Move at All
- The Door Moves Partially, Then Stops
- The Door Reverses Before Hitting the Ground
- The Door Moves but Makes Abnormal Noise
- Understanding Opener LED Blink Codes
- Why Intermittent Problems Are the Hardest to Diagnose
- DIY Fixes That Make Things Worse
- Common Mistakes to Avoid
- When to Call a Professional
- Frequently Asked Questions
- The Bottom Line
The Door Won’t Move at All
A door that does absolutely nothing when you press the wall button or remote is the easiest branch to diagnose, because the possible causes are limited. Before assuming the worst, check the obvious: is the opener plugged in, and is the outlet live? In older Studio City homes with original garage wiring, a tripped GFCI outlet on the same circuit is a common culprit. The opener may be plugged into an outlet that shares a circuit with the bathroom or exterior outlets, and one tripped GFCI kills power to the whole run.
If power is confirmed at the outlet, the next check is the disconnect mechanism. Every opener has a manual release cord, typically a red rope hanging from the trolley. If that cord has been pulled, even partially, the opener will run but the door won’t move, or nothing will happen at all. Reconnect the trolley by pulling the cord toward the door and running the opener until it catches. This exact issue accounts for a surprising number of “dead door” calls, including plenty we’ve seen after a guest or family member accidentally bumped the release.
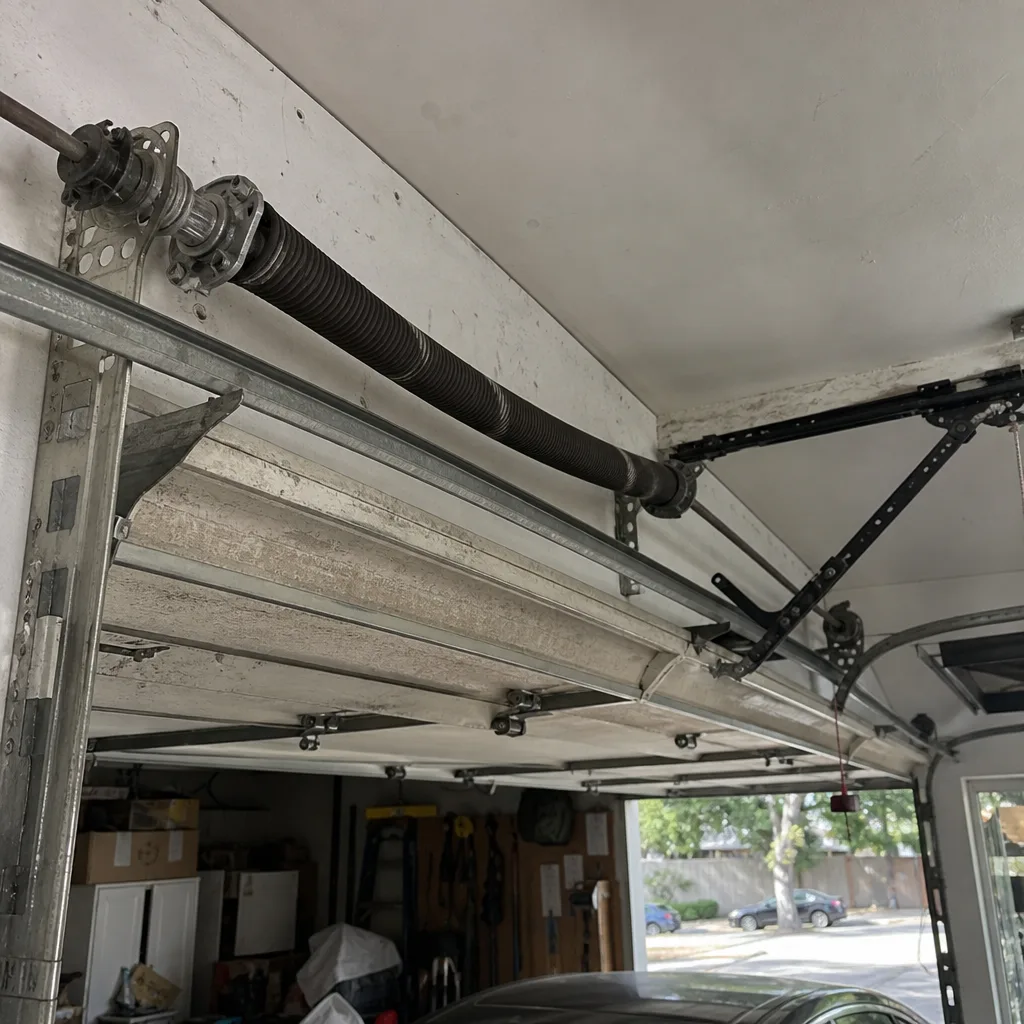
Beyond power and the disconnect, the next suspect is a broken torsion spring. If you hear the opener motor running but the door stays put, the spring above the door has likely snapped. You can confirm visually: look for a gap in the spring where the coils separated. A broken spring is not a DIY repair. The torsion spring holds stored mechanical energy, and attempting to remove or adjust it without the correct winding tools and training has caused serious injuries. Call a professional, and in the meantime, leave the door down and disconnect the opener so nobody tries to run it.
Numbered Diagnostic Steps for a Door That Won’t Move
- Check the outlet. Plug in a lamp or phone charger. If dead, locate and reset the GFCI outlet on that circuit, usually elsewhere in the garage or an adjacent bathroom.
- Check the opener’s power supply. The opener itself plugs into the ceiling outlet with a short cord. Make sure it hasn’t been pulled loose.
- Inspect the manual release cord. Pulled back and locked? Re-engage the trolley.
- Listen for the motor. Press the wall button. Hear a hum but no movement? Likely a broken spring or a stripped drive gear.
- Look at the spring. A visible gap in the torsion spring coils means it has snapped and must be professionally replaced.
The Door Moves Partially, Then Stops
When the door moves a few inches or a few feet and then stops or reverses, you’re in a different diagnostic branch. The opener is working, power is fine, and the spring may still be intact. The problem is almost always resistance: something is making the opener work harder than it’s programmed to, and the force limiter is cutting out to protect the motor and the door.
Start by watching where the door stops. If it stops at roughly the same spot every time, look closely at that section of track. A bent track, a loose bracket, or a track that has shifted out of alignment will create a physical pinch point. In Studio City, where many homes have garages built into hillsides with older foundations, track misalignment from settling or minor seismic movement is more common than people expect. If the track has shifted even a quarter inch, the rollers bind and the opener quits.
If the door stops at random points, the cause is more likely the opener’s force adjustment or a worn internal gear. Openers have two force settings: open force and close force. Both are adjustable, usually with a dial on the opener unit or through a digital control panel. If the close force is set too low, the opener interprets normal track friction as an obstruction and stops. Slowly increasing the setting in small increments can resolve the issue, but if you find yourself turning the dial up significantly, something else is causing real resistance.
Cold weather is another factor. Spring tension changes with temperature, and a door that was perfectly balanced in July may struggle in January. Garage door torsion springs are installed with a specific number of winding turns calibrated to the door’s weight. When temperatures drop, the steel stiffens and the door effectively “weighs” more. A technician can fine-tune the spring or install a spring with the correct rating for the door and the climate. This is not a homeowner adjustment; the spring assembly remains one of the most hazardous components in any home.
The Door Reverses Before Hitting the Ground
Here’s the misdiagnosis capital of garage door troubleshooting. A door that reverses just before closing, often just an inch or two from the floor, is nearly always blamed on misaligned photo-eye sensors. The sensors are the small units mounted on either side of the door track, about six inches off the ground, that project an invisible beam. If the beam is interrupted, the opener refuses to close as a safety measure. That’s true, and misaligned sensors do cause reversal. But in our experience, especially in Studio City garages that see wide temperature swings between coastal mornings and Santa Ana afternoons, there are two other equally common culprits that get overlooked.
The first is the close-force setting, the same adjustment mentioned above. When lowered too much, the opener’s logic misreads the final compression of the bottom seal against the garage floor as an obstruction and reverses the door. The reason this gets missed is that the door usually opens fine and closes most of the way fine. The reversal only happens at the final contact point, which is exactly where the force curve spikes. Increasing the close force by a small margin fixes it. This is a two-minute adjustment if you know where the dial or menu setting is.
The second overlooked culprit is the bottom seal itself. A door’s bottom rubber weather seal, also called the astragal, creates resistance when it compresses. If that seal is warped, stiffened from years of sun and heat on a west-facing Studio City garage, or has pulled loose from its retainer, the door’s weight shifts unevenly at the moment of closing. The opener reads the uneven pressure as an obstruction and reverses. Replacing a bottom seal is a homeowner-level repair on most doors, and the replacement strip costs far less than an unnecessary service call.
Before touching anything, run this simple test: with the door open, locate the two photo-eye sensors near the floor on each side. Both should have a small LED light lit, typically green on one and red or amber on the other. If one light is blinking or out, the sensors are misaligned or blocked. Wiggle the mounting brackets until both lights are steady. If both lights are solid and the door still reverses at the floor, the problem is the force setting or the bottom seal, not sensors.
The Door Moves but Makes Abnormal Noise
A garage door that opens but sounds like a percussion instrument is trying to tell you something specific. The sound itself is a diagnostic tool. Different noises point to different problems, and learning to interpret them will save you from replacing parts that aren’t broken.
Squealing or shrieking that follows the path of the door up the track points to the rollers. Most residential doors have ten rollers: four on the bottom panel, four on the intermediate panels, and two on the top. Rollers wear out, especially nylon rollers that have been exposed to heat, dust, and years of use. A squealing roller usually has a failing bearing. The fix is straightforward replacement, and all ten should be replaced at once so the wear pattern doesn’t just migrate to the next oldest roller.
Rattling or banging that happens when the door moves through a specific section of track points to loose hardware. The L-shaped mounting brackets that hold the vertical track to the wall framing can loosen over time. The lag bolts that hold the horizontal track to the ceiling can back out from the vibration of daily cycling. The symptom is a door that clanks and rattles as it rounds the curve from vertical to horizontal track. Tightening every visible bolt and lag screw often resolves the noise. In some Studio City garages with wood framing that has dried and shrunk over decades, enlarging the hole and using a thicker lag screw is the permanent fix.
Growling or straining from the opener unit itself, not the door, points to a motor or gear problem inside the opener housing. Older openers with AC motors and nylon drive gears are notorious for gear wear. When the gear strips, the motor spins but the door moves slowly or stutters. This is a repairable failure on many LiftMaster and Chamberlain units, and replacement gear kits are available. Newer openers with DC motors and belt drives are quieter from the start, and if one starts making noise, something is failing internally that usually means replacement is more cost-effective than repair.
One noise pattern that deserves immediate attention is a sharp crack followed by the door refusing to move. That is the sound of a torsion spring snapping. The spring is under hundreds of pounds of torque, and when it fails it releases that energy in an instant. The sound is unmistakable, often described as a gunshot. If you hear it, stop using the door immediately.
Understanding Opener LED Blink Codes
Modern openers speak in blink codes. When something goes wrong, the unit flashes its LED light in a specific pattern, and that pattern corresponds to a diagnostic code. The challenge is that each manufacturer uses a different code system. Here’s what the three most common opener brands in Studio City garages are actually telling you.
LiftMaster and Chamberlain openers use the same code language, since Chamberlain owns LiftMaster. These units have a “learn” button and a diagnostic LED near the motor unit. Blink patterns and their meanings:
- 1 flash: The safety sensors are misaligned or blocked. Check both sensors and their wiring.
- 2 flashes: The safety sensor circuit is shorted, or the wiring has reversed polarity. This typically appears after a sensor wire gets pinched or chewed.
- 3 flashes: The door control wiring is shorted or the wall button is stuck in the pressed position.
- 4 flashes: The safety sensors are misaligned or blocked. Yes, it shares this code with 1 flash; 4 flashes usually appears specifically when the door reverses rather than refusing to move.
- 5 flashes: The motor has overheated. Let the opener cool for 15 minutes and try again. If it recurs, the motor is failing or the door has too much resistance.
- 6 flashes: The door is moving too slowly or stalling. Check for track obstruction or spring tension issues.
Genie openers use a different system. Many Genie units have a round LED or a numeric display, but the older and most common residential models use a flashing red LED on the motor head:
- 1 flash: The motor is running but the door isn’t moving. This usually means the carriage or coupler is disengaged. Check the manual release.
- 2 flashes: The safety sensors are blocked or misaligned.
- 3 flashes: The door is hitting an obstruction, or the force setting is too low.
- 4 flashes: The opener has exceeded its thermal limit. Let it cool.
- Solid red: The opener is in sleep mode or the power supply is unstable.
If you have a Craftsman opener, you’re mostly in the Chamberlain code system, since Chamberlain manufactured Craftsman openers for decades. Older Craftsman units made before the Chamberlain acquisition may use a simpler system: the opener light blinks five times for a sensor issue and otherwise stays solid. If you’re unsure what your opener is saying, explore more guides & resources on our blog, and write down the blink pattern before you call for help. A technician who knows the code language can often diagnose the issue over the phone, and at minimum, the note saves time on site.
Why Intermittent Problems Are the Hardest to Diagnose
Every technician dreads the “sometimes it works, sometimes it doesn’t” call, not because the problem is always serious, but because intermittent failures are almost impossible to reproduce on demand. A door that opens perfectly four times and then refuses on the fifth try has a problem that is hiding between cycles. Finding it requires patience and the right evidence.
The most common causes of intermittent failure are heat-sensitive electronics, loose wire connections, and sensors that drift out of alignment. In Studio City, the heat factor is real. Garages without insulation routinely reach 110 degrees or more during summer afternoons. Opener logic boards, especially in older units, can develop hairline solder cracks that open and close with thermal expansion. The opener works fine in the morning, fails in the afternoon heat, and works again when the garage cools at night. This pattern is nearly impossible to catch without documentation.
Loose connections are the second major category. A sensor wire that’s held by a loose wire nut will make contact most of the time and lose it when the door’s vibration shakes the wire. A wall button with a worn internal contact will send the signal intermittently. These problems hide because they require specific conditions to appear: a certain temperature, a certain vibration frequency, a specific position of the sun hitting the sensor lens.
Before you call a professional for an intermittent problem, do one thing that will dramatically speed up the diagnosis: capture video of the failure. Record what happens when the door misbehaves. Show the opener lights, the sensor lights, and the wall button. A 30-second clip is worth more than a 10-minute verbal description, because it preserves the details that memory flattens. If the problem is heat-triggered, note the approximate temperature and time of day. This evidence often points directly at the culprit and saves hours of guesswork.
DIY Fixes That Make Things Worse
The internet is full of free advice, and much of it is good. But certain “fixes” circulate on video platforms that turn a small problem into a bigger one. Here are the ones we see cost Studio City homeowners the most money.
Lubricating everything with WD-40. WD-40 is a solvent, not a lubricant. Spraying it on rollers, hinges, and tracks displaces the grease that was there and provides almost no lasting lubrication. The door actually gets noisier within a few weeks. The correct product for garage doors is a silicone-based or lithium-based lubricant applied to rollers, hinges, and the torsion spring. WD-40 belongs in the cabinet, not on your door.
Adjusting spring tension with improvised tools. Torsion springs are wound under tension that can approach several hundred foot-pounds. The winding cones are designed to accept specific winding bars, not screwdrivers, not rebar, not whatever is in the toolbox. When a spring lets go during an improvised adjustment, the bar becomes a projectile. Injuries from improper torsion spring work include broken bones, lacerations, and worse. This is the one repair where the cost of a professional is always justified.
Replacing one roller at a time. Rollers wear as a set. Replacing only the one that’s shrieking means a new, smooth-bearing roller runs alongside nine tired ones. The door continues to make noise from other rollers, and the new roller wears prematurely from compensating for the others. Replace all ten at once.
Bending the track back into shape with a hammer. Garage door tracks look simple, but they are engineered with precise clearances. A hammer blow that “fixes” a bent section almost always leaves a dulled edge or a flat spot that the rollers notice on every pass. A bend that’s causing the door to bind is a correct candidate for section replacement, not percussion therapy.
Disconnecting the safety sensors permanently. It is technically possible to bypass photo-eye sensors by splicing the wires or mounting both sensors facing each other on the ceiling. It also disables the primary safety mechanism designed to prevent a closing door from crushing a person or pet. The sensors exist because of documented injuries and deaths. No convenience is worth the risk. If your sensors are causing repeated false stops, the correct fix is alignment or replacement, not bypass.
Common Mistakes to Avoid
- Guessing without establishing the behavior pattern. Opening the tool bag before answering “does the door stop at the same place every time?” wastes money on parts that won’t fix the problem. Watch five full cycles and note exactly what happens, when, and with what sounds.
- Ignoring a noisy door because it still works. Noise is a leading indicator. A squealing roller becomes a seized roller, and a seized roller can pull the door off its track. Fix the noise before it becomes a breakdown.
- Setting the force adjustment to maximum to fix a reversing door. The force limiter is a safety circuit. Cranking it up masks the real problem and puts excessive strain on the opener, the springs, and the door panels. The underlying resistance must be found and fixed.
- Replacing the whole opener when a gear or capacitor has failed. Many opener failures are repairable with a specific internal part. A brand-agnostic repair shop that works on LiftMaster, Chamberlain, Genie, and Craftsman units can often replace the failed gear, capacitor, or logic board for a fraction of the cost of a new opener.
- Skipping the annual inspection until something breaks. A garage door is the largest moving object in most homes. Annual checks of the spring, cables, rollers, and opener settings catch small problems before they become emergency calls. In Studio City, the combination of heat, dust, and daily vehicle cycling makes this annual check worthwhile.
- Working on the door with the opener plugged in. Any track, roller, or spring work should be done with the opener disconnected from power. The last thing you want is an unexpected motor start while your hand is in the mechanism.
When to Call a Professional
Some repairs are correctly handled by homeowners with basic tools, and this guide has identified those. But certain conditions demand professional attention. Any torsion spring issue, whether broken, loose, or simply making a popping sound, is a professional repair. Any door that has come off its track, particularly if a cable is dangling or frayed, creates a safety hazard. Any opener failure that involves the motor, gear train, or logic board requires opener-specific knowledge. And any problem you’ve spent more than an hour trying to diagnose without a clear answer has already cost you more in time than a service call would. For Garage Door Repair in Studio City, Mustang Garage Door Service offers free estimates, and our team works on what you already have. Call (855) 633-3903 and describe the symptom; we’ll tell you over the phone whether it sounds like something you can handle or a repair worth scheduling.
Frequently Asked Questions
Garage door repair in Studio City typically ranges from $120 for a basic roller replacement or sensor alignment to $350 and up for torsion spring replacement or opener gear repair. The final price depends on the door type, the part needed, and whether the issue is isolated or has caused secondary damage. If you’re evaluating contractors, read How to Hire a Garage Door Contractor in Studio City: A Step-by-Step Guide first. Call (855) 633-3903 for an exact quote before any work begins; Mustang Garage Door Service provides free estimates and confirms the price before touching the door.
Yes, in many cases. First check the photo-eye sensors near the floor; both should have steady lights. If one is blinking, realign it by adjusting the bracket by hand. If both lights are steady and the door still reverses at the floor, clean or replace the bottom seal. If the problem persists after these two steps, the close-force setting on the opener may need adjustment, which is a simple fix on most openers but one worth verifying with a professional if you’re unsure where the dial is.
The most common reason a door opens but refuses to close is a photo-eye sensor issue: misalignment, blockage, or a damaged wire. Other causes include a low close-force setting, an obstruction in the door’s path, or a wall button that is stuck in the closed position. Check the sensor lights first, then the force setting, then the area around the door’s path for anything the door could be hitting.
A sudden increase in noise usually points to a roller bearing failure, a loosened track bracket, or a torsion spring that has started to bind and pop as it winds. If the noise appeared suddenly after a sharp crack, the spring has likely broken and the door should not be operated. Otherwise, inspect the rollers for flat spots or wobble, and tighten every visible lag screw and bracket.
A broken torsion spring leaves a visible gap in the spring coil, typically a two to four inch separation in the spring above the door. Torsion springs sit on a shaft above the closed door; extension springs stretch along the horizontal tracks on either side. If you see a separated coil, hear a loud crack when the door last moved, or if the opener motor runs but the door won’t lift, the spring has failed and must be replaced professionally.
Mustang Garage Door Service repairs and maintains openers from LiftMaster, Chamberlain, Genie, Craftsman, and more, including belt-drive, chain-drive, and smart home-compatible units. Our technicians arrive with the diagnostic tools and replacement parts for the specific opener in your garage, rather than recommending a full replacement just because the brand isn’t in stock. Call (855) 633-3903 or visit our Garage Door Opener Repair in Studio City page for more detail.
The Bottom Line
Garage door troubleshooting is a branching logic problem: start with what the door does, then follow the branch to root cause. A door that won’t move points to power, the disconnect, or a broken spring. A door that moves partially points to track resistance or force settings. A door that reverses at the floor points to sensors, close-force, or the bottom seal, in that order. A door that’s noisy points to rollers, hardware, or the opener internals. Most issues are unrelated to the opener motor itself. For the problems that require professional hands, especially anything involving torsion springs or a door that has left its track, the right call is a specialist who works on your existing system rather than pushing a replacement. Mustang Garage Door Service home covers repair, opener repair, and Garage Door Installation in Studio City, with free estimates and a repair-first approach. Call (855) 633-3903 when you’re stuck.
Written by the team at Mustang Garage Door Service, serving Studio City since 2011.
See the difference
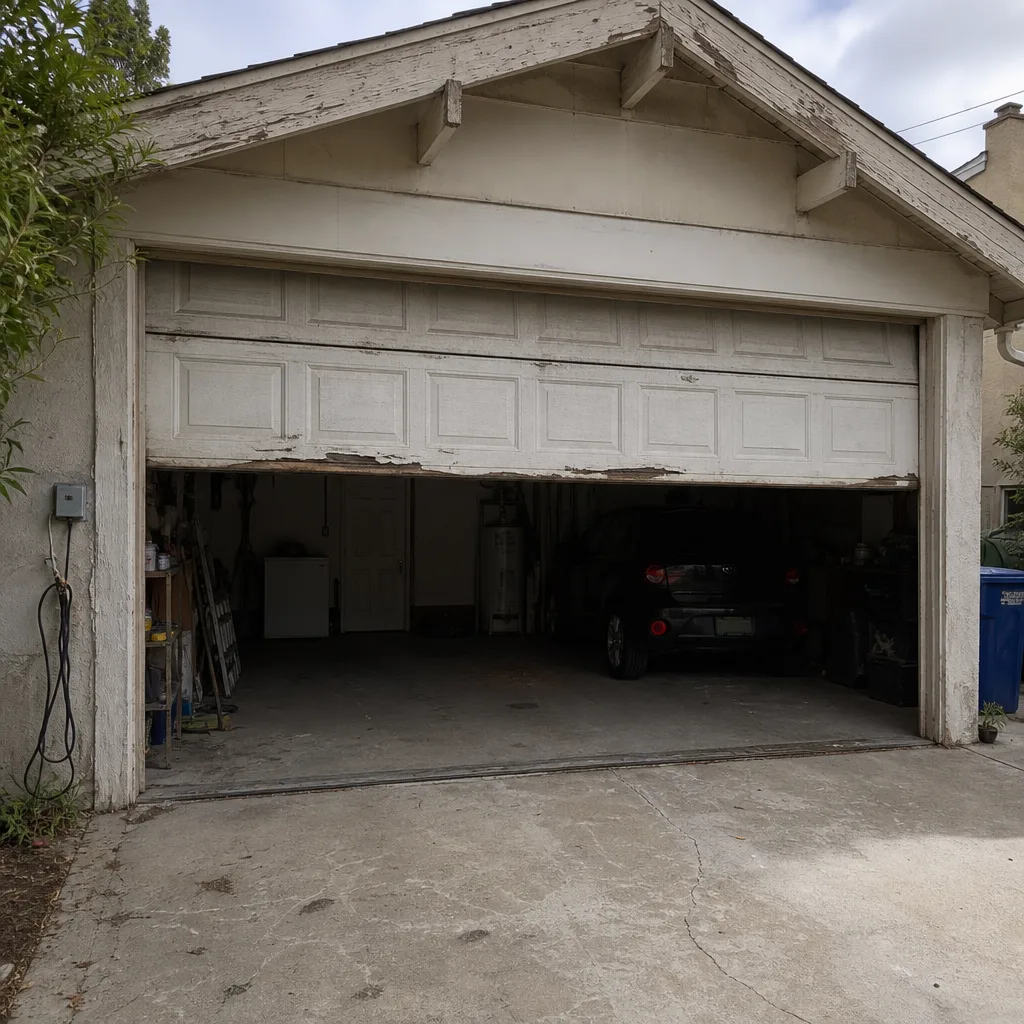
 Before
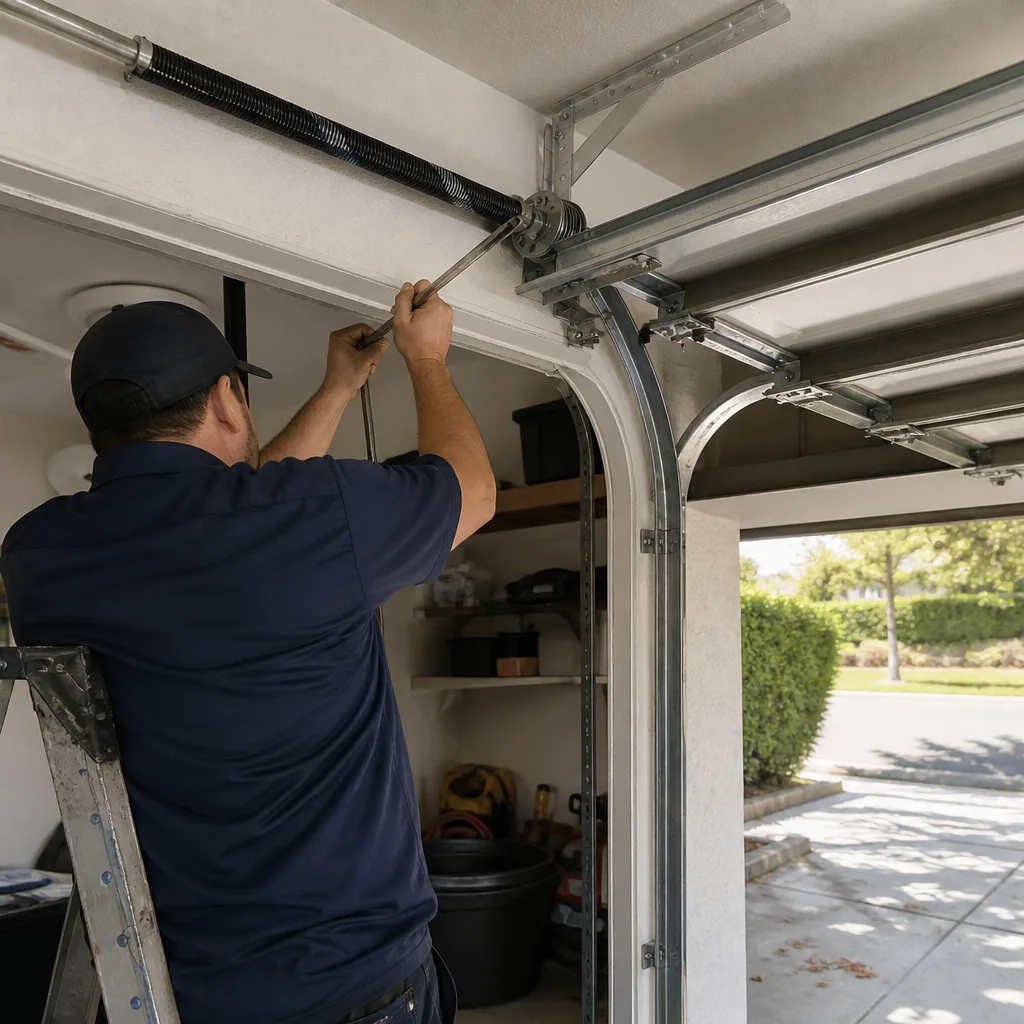
 After
 Before
 After
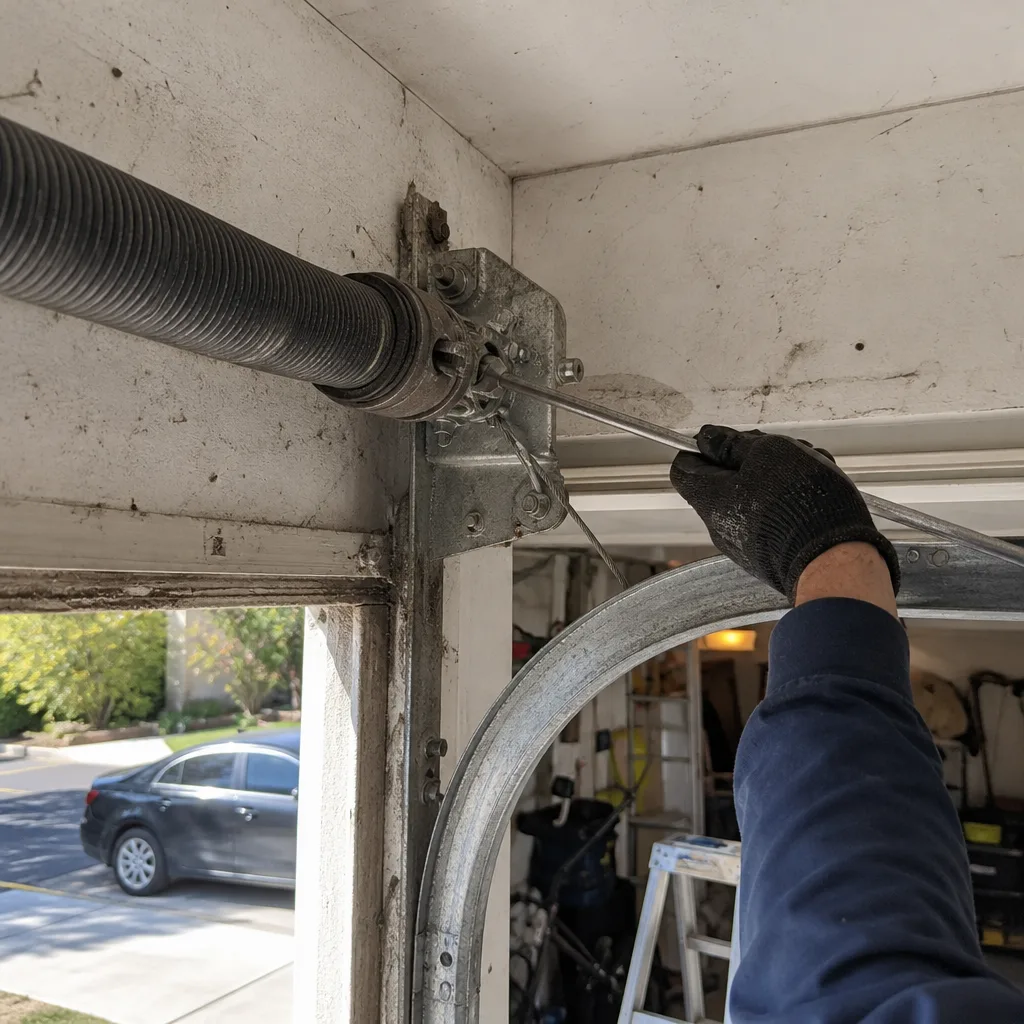 Before
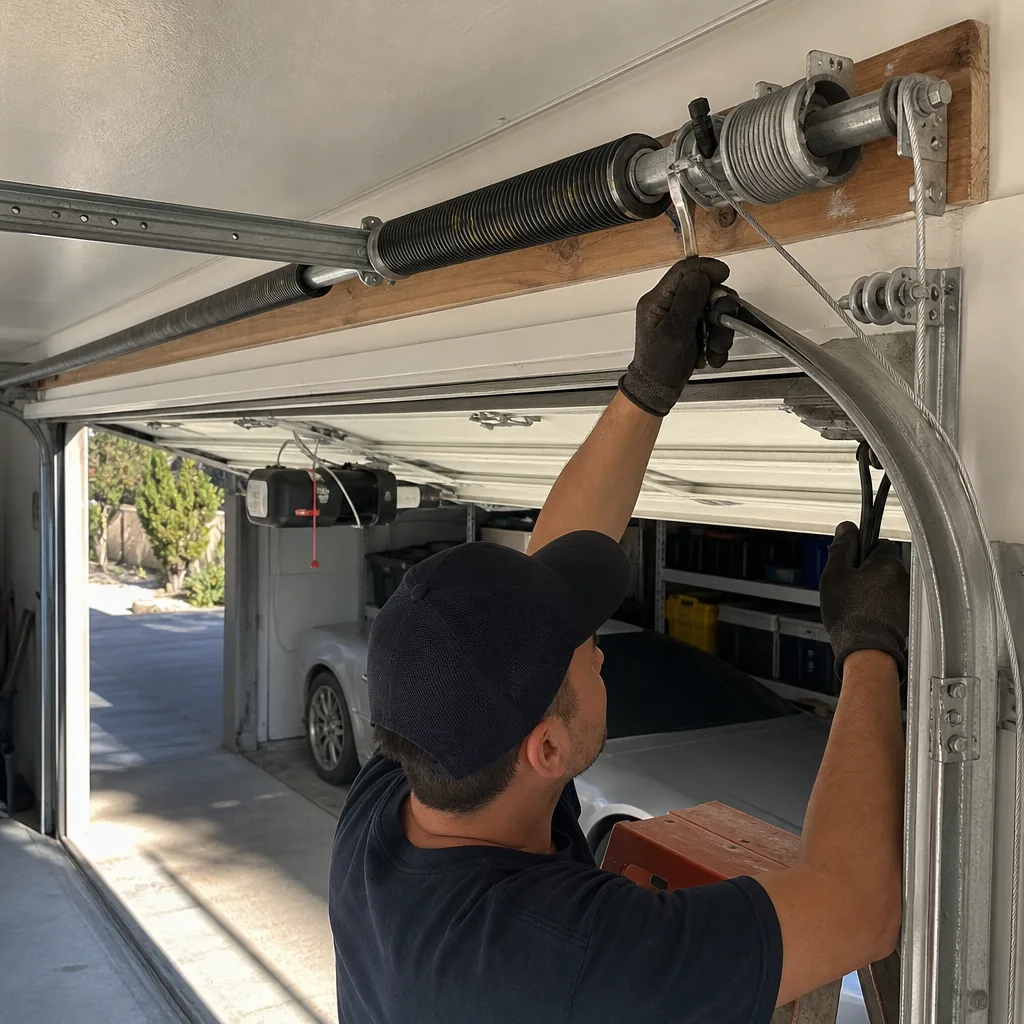 After