
Last updated November 2, 2026
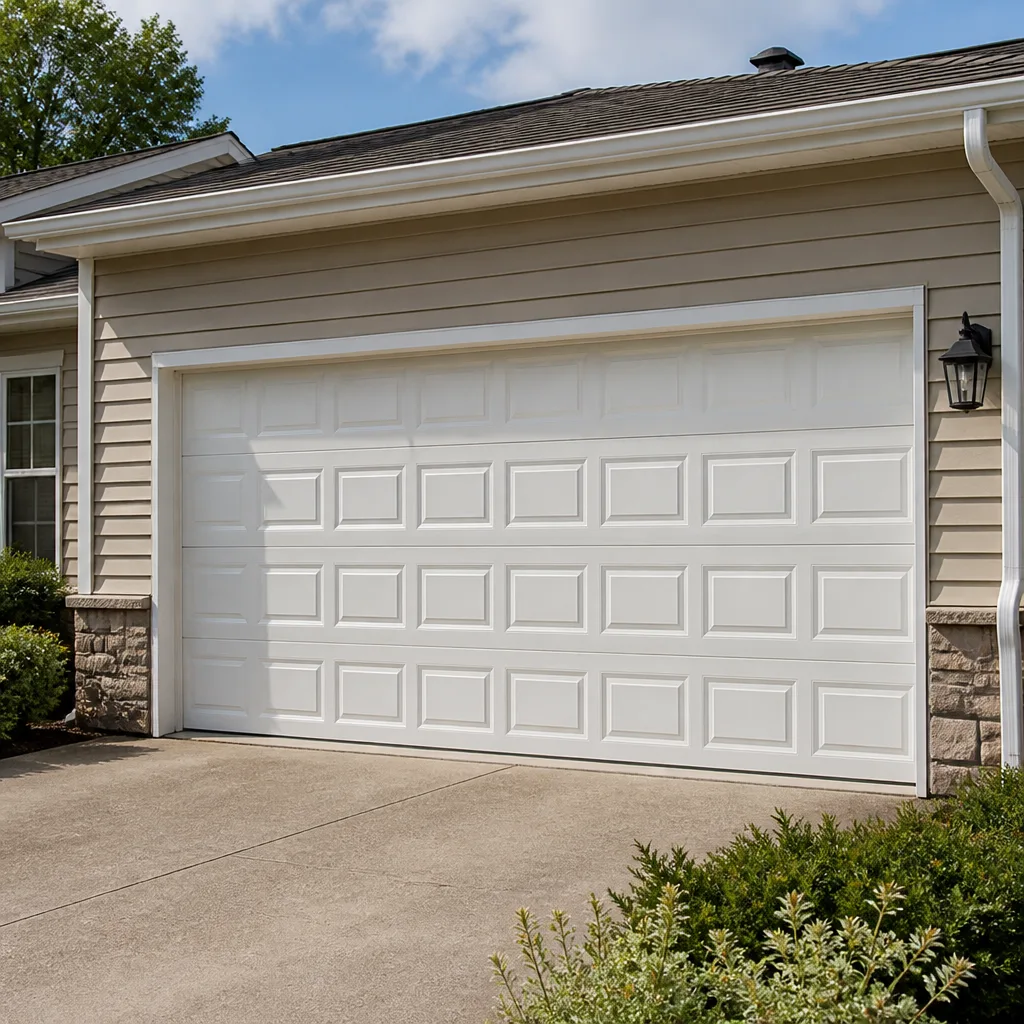 Raised-panel steel
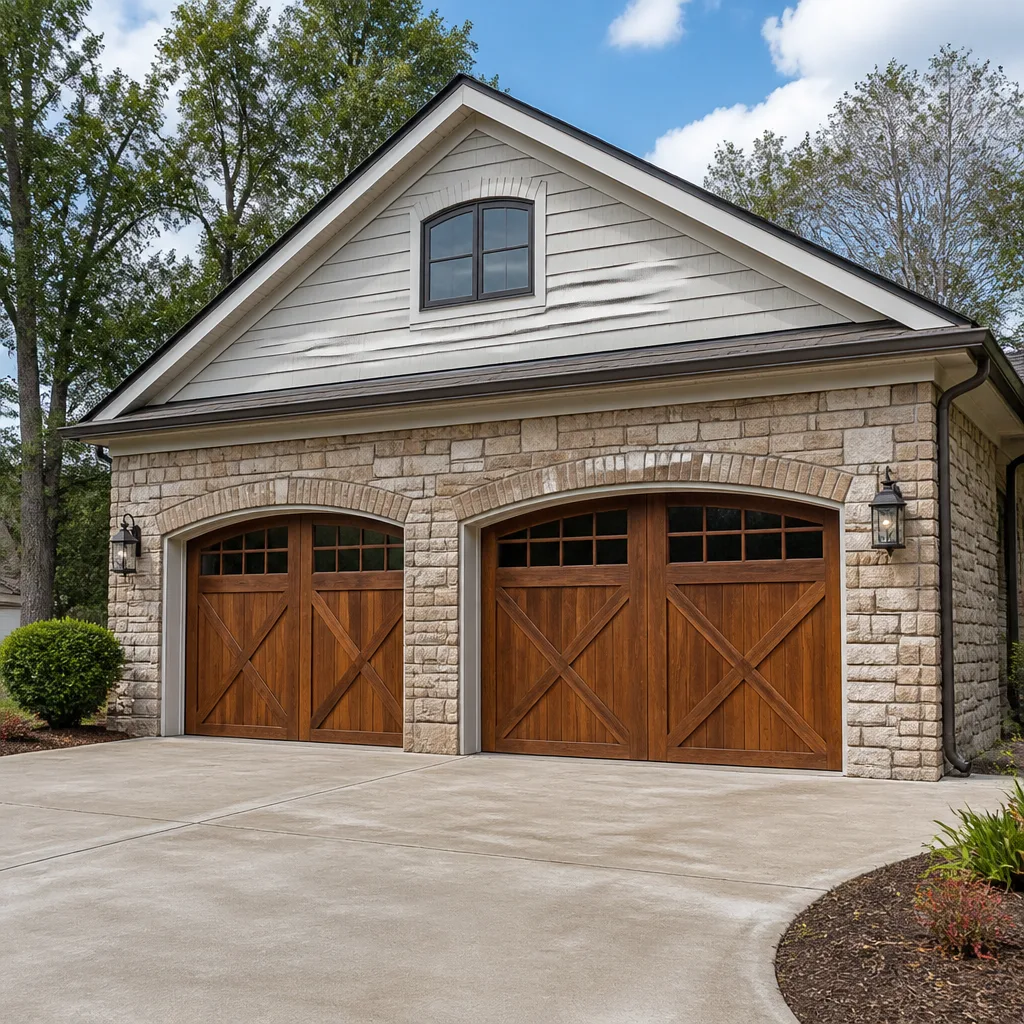 Carriage house
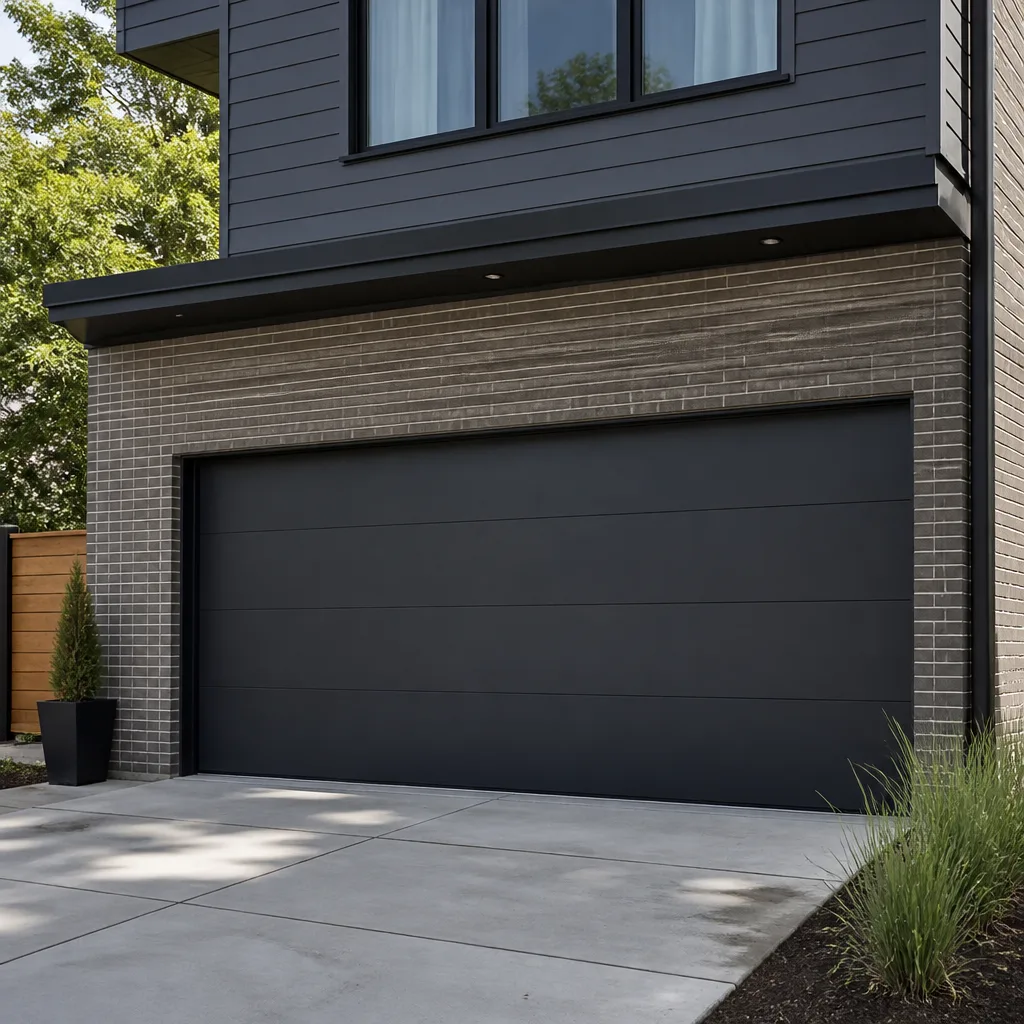 Modern flush
 Full-view glass
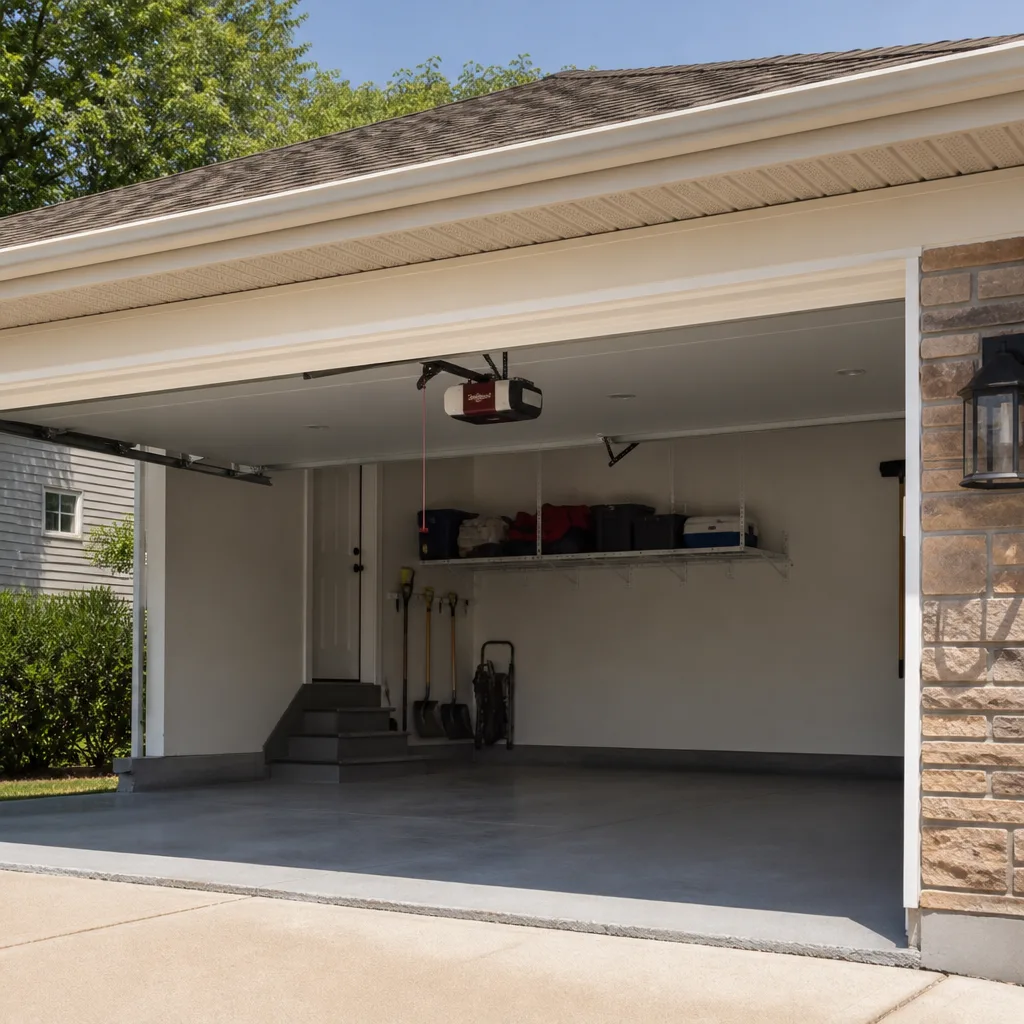 LiftMaster openers
 Chamberlain openers
Full 25-point door and opener safety check with every visit - springs, cables, rollers, tracks, and your LiftMaster or Chamberlain opener included
You get a price before we start. It does not change when the truck arrives.
Get your free estimateDIY vs Professional Garage Door: The Studio City Homeowner’s Decision Guide
A torsion spring on a sectional garage door holds roughly 100 to 150 pounds of torque per inch of deflection, and when it snaps, it releases all of that stored energy in a fraction of a second. That single fact, more than any other, is why the DIY-versus-professional question for garage doors looks nothing like the same question for a leaky faucet or a stuck window. In Studio City, where garages double as workshops, home gyms, and even guest suites, a door that won’t open isn’t just an annoyance; it’s a disruption to how the whole property functions. This guide walks through which garage door tasks a capable Studio City homeowner can safely tackle, which ones demand a trained technician, and what the real math says about both paths.
Styles & brands we work with
- Raised-panel steel
- Carriage house
- Modern flush
- Full-view glass
- LiftMaster openers
- Chamberlain openers
Quick Answer
For a Studio City homeowner, DIY is genuinely appropriate for about 20% of garage door tasks: weatherseal replacement, sensor realignment, opener reprogramming, and basic lubrication. The other 80%, including anything touching torsion springs, cables under tension, or panel replacement, carries injury risk from stored mechanical energy that doesn’t justify the savings. When in doubt, the rule we tell neighbors is simple: if the part is under tension, it’s a professional job.
Table of Contents
- The Real Division: DIY-Appropriate vs. Professional-Only Tasks
- Why Torsion Springs Change Everything
- California’s Homeowner Exemption and What It Actually Covers
- The Hidden Costs of DIY That Nobody Quotes Up Front
- Scenario by Scenario: What Studio City Homeowners Should Actually Do
- What DIY-Appropriate Tasks Actually Require
- Studio City Specifics: Climate, Code, and Your Garage Door
- Common Mistakes to Avoid
- When to Call a Professional
- Frequently Asked Questions
- The Bottom Line
The Real Division: DIY-Appropriate vs. Professional-Only Tasks
Most garage door advice online lumps every repair into one vague “call a pro” bucket or swings the other way with reckless “anyone can do this” optimism. Neither is accurate. The honest division runs along a clear line: does the task involve stored mechanical energy, or does it involve components you can touch without releasing force built into the system?
Here’s the binary categorization we’ve developed after working on doors across Studio City, from the hillside properties off Laurel Canyon to the mid-century tracts south of Ventura Boulevard:
DIY-Appropriate Tasks (No Stored Energy Involved)
- Weatherseal and bottom gasket replacement: The rubber strip at the bottom of the door is held by screws or a channel. No springs, no cables, no tension. You’ll need a screwdriver or socket set and about 45 minutes.
- Safety sensor realignment: The photo eyes near the floor sometimes get bumped by bikes, trash cans, or kids. If they’re blinking, they’re misaligned. Loosening a wing nut and adjusting the sensor bracket is straightforward.
- Remote and keypad reprogramming: If your opener works from the wall button but not the remote, the fix often involves holding a “learn” button and pressing the remote. Your opener’s manual has the exact sequence.
- Track lubrication: A can of white lithium grease or spray silicone along the tracks, hinges, and rollers can quiet a noisy door. This is maintenance, not repair, and it’s entirely safe.
- Battery replacement in remotes or keypads: A 9-volt or watch battery swap takes two minutes and solves a surprising number of “dead opener” calls.
Professional-Only Tasks (Stored Energy or Structural Risk)
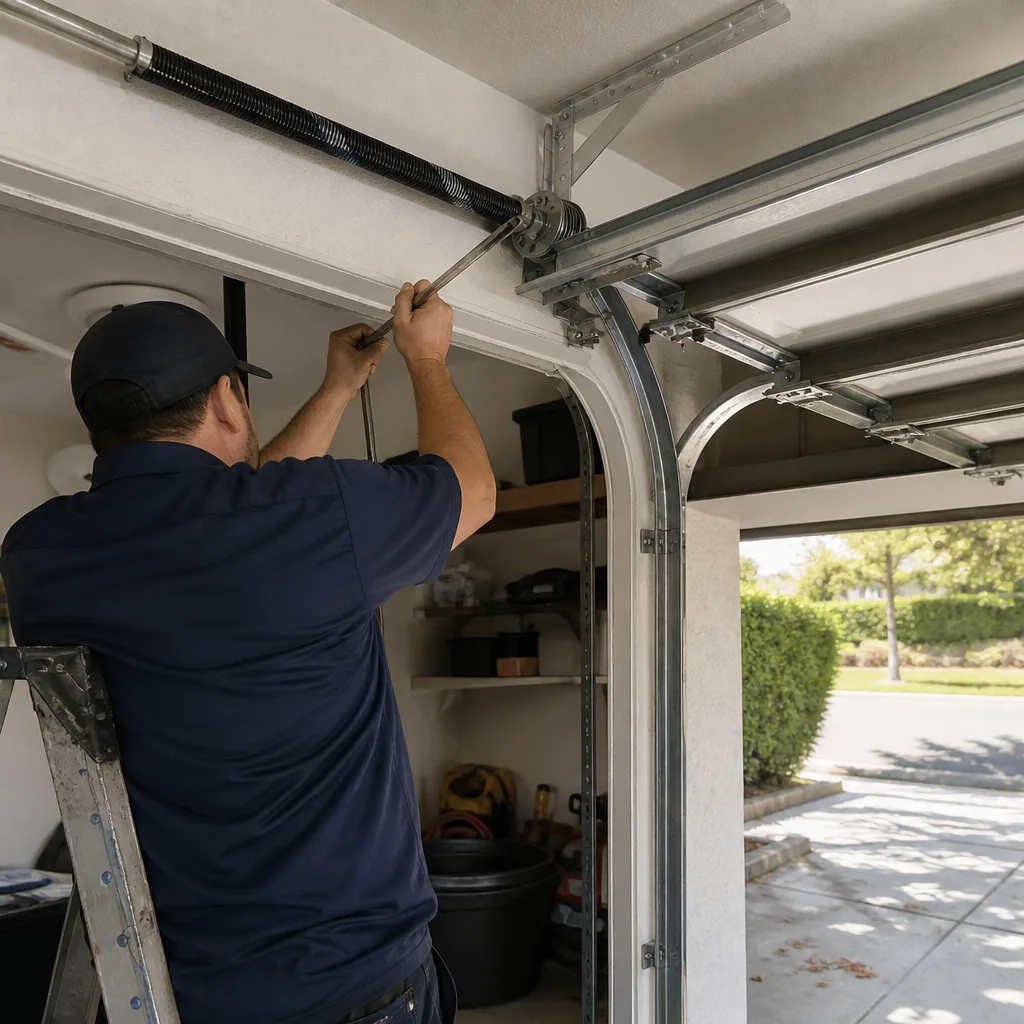
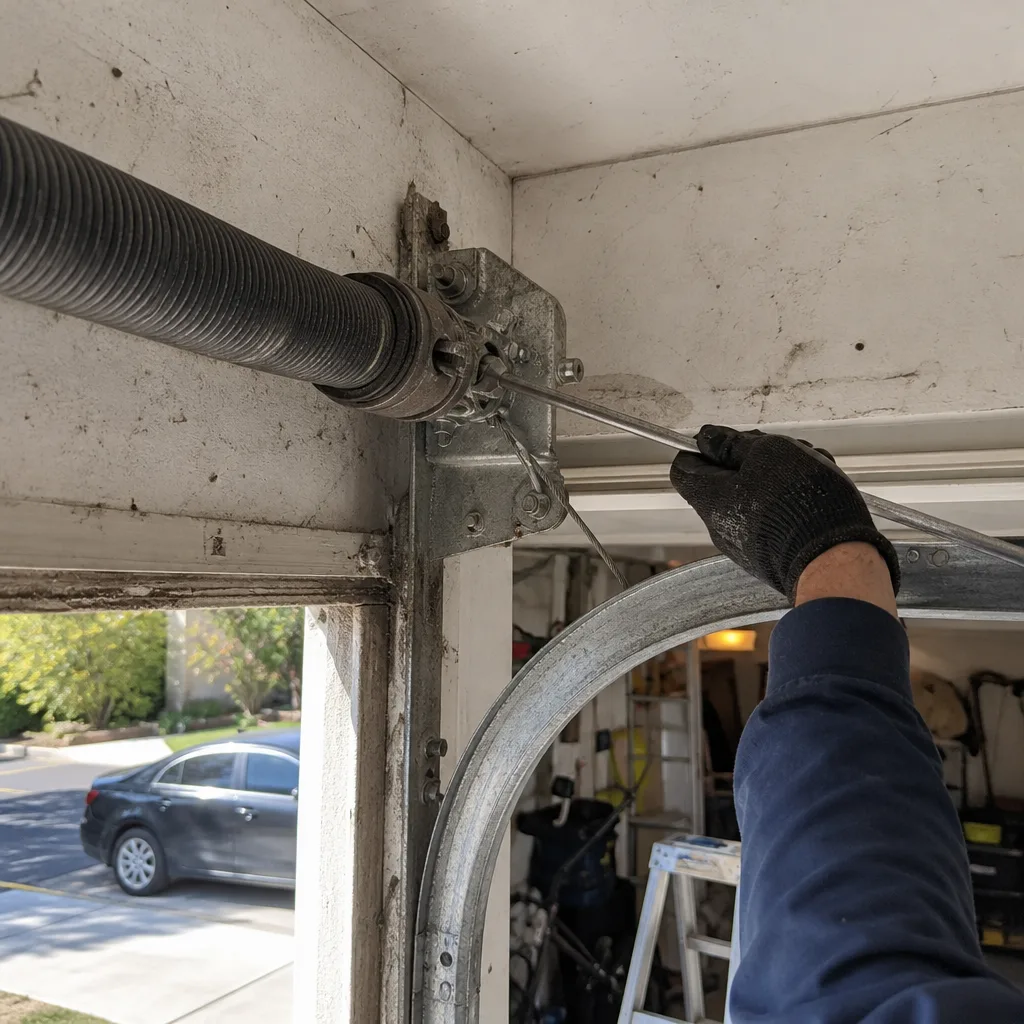
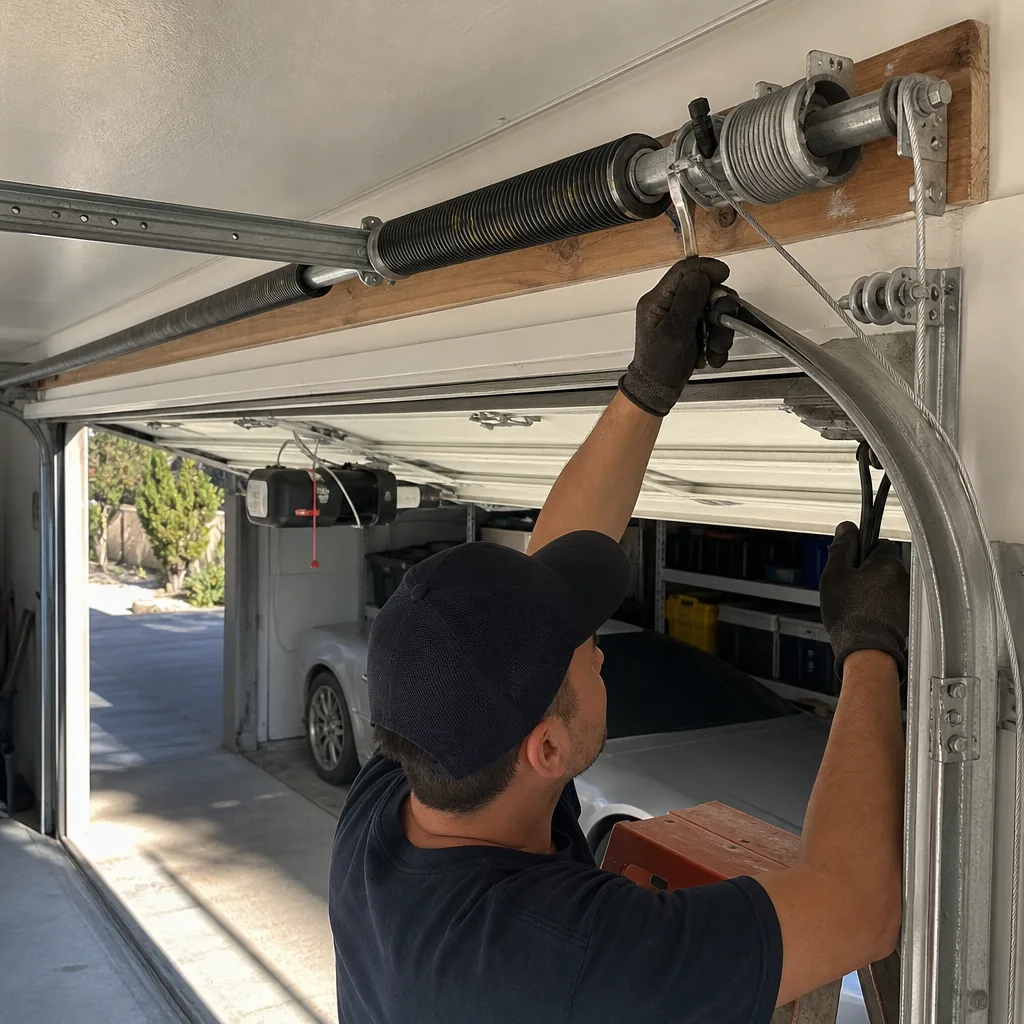
- Torsion spring replacement: The most dangerous component on any garage door. A properly wound torsion spring stores hundreds of pounds of force. If the winding bar slips, the result can be fatal.
- Extension spring replacement: Slightly less dangerous than torsion springs but still under enough tension to break bone if a cable snaps or a spring slips.
- Cable replacement: The lifting cables run alongside the door and are connected directly to the spring system. Cutting or removing a cable under tension has the same risk profile as the springs.
- Panel replacement: A single panel on a sectional door weighs 40 to 80 pounds. Replacing one requires disassembling the door’s structure while it’s supported, which means the springs are actively counterbalancing the remaining panels.
- Track bending or realignment: Bent vertical tracks or a popped horizontal track requires the door to be lowered, braced, and worked on while the spring system is still active.
- Full door replacement: A complete new door is measured, specified, ordered, and installed with the springs wound precisely to match the door’s exact weight. This is a multi-hour job that requires two people and specialized tools.
The pattern is clear once you see it: tasks that touch the spring system, the cables connected to it, or the structural integrity of the door itself belong in the professional column. Everything else is fair game for a homeowner with basic tools and a willingness to read the manual. Mustang Garage Door Service works on what you already have, whether that’s a DIY fix you’ve completed or a system that needs Garage Door Repair in Studio City because it’s beyond the safe DIY boundary.
Why Torsion Springs Change Everything
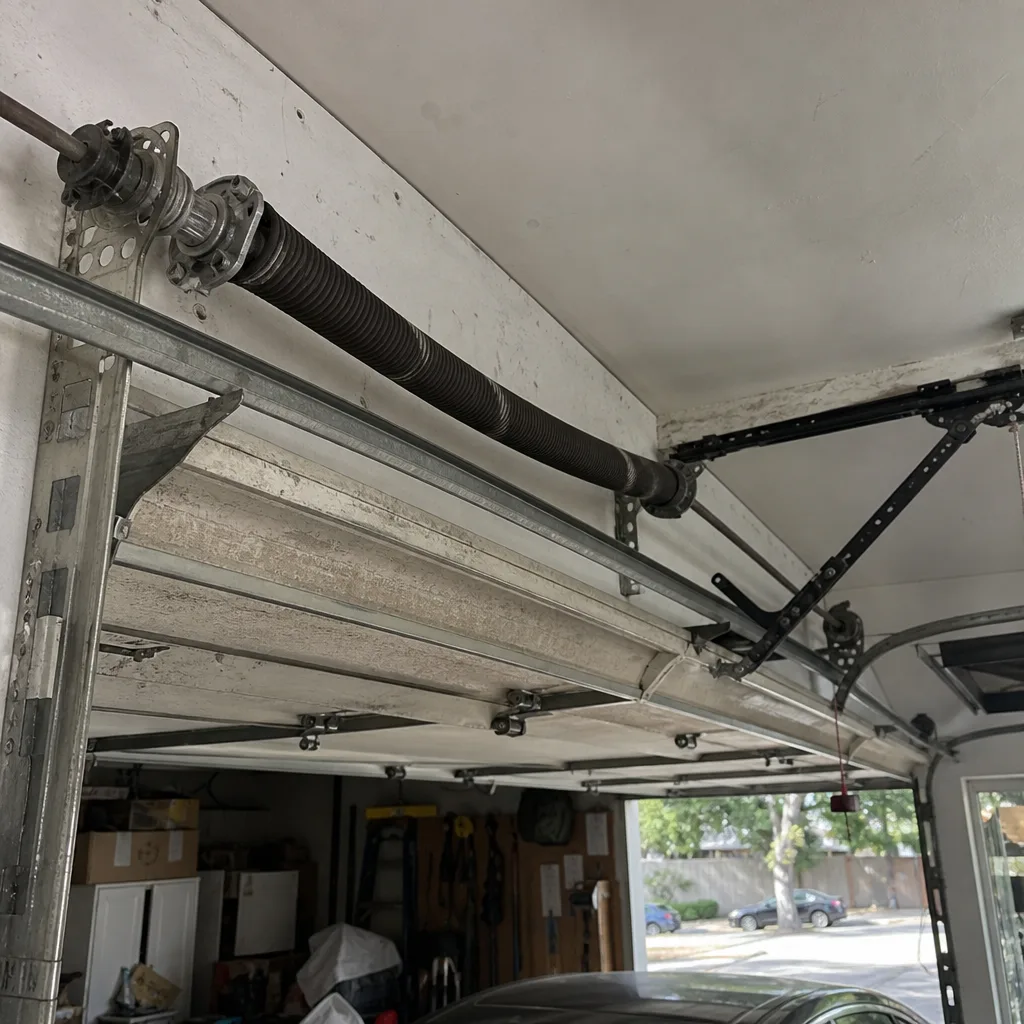
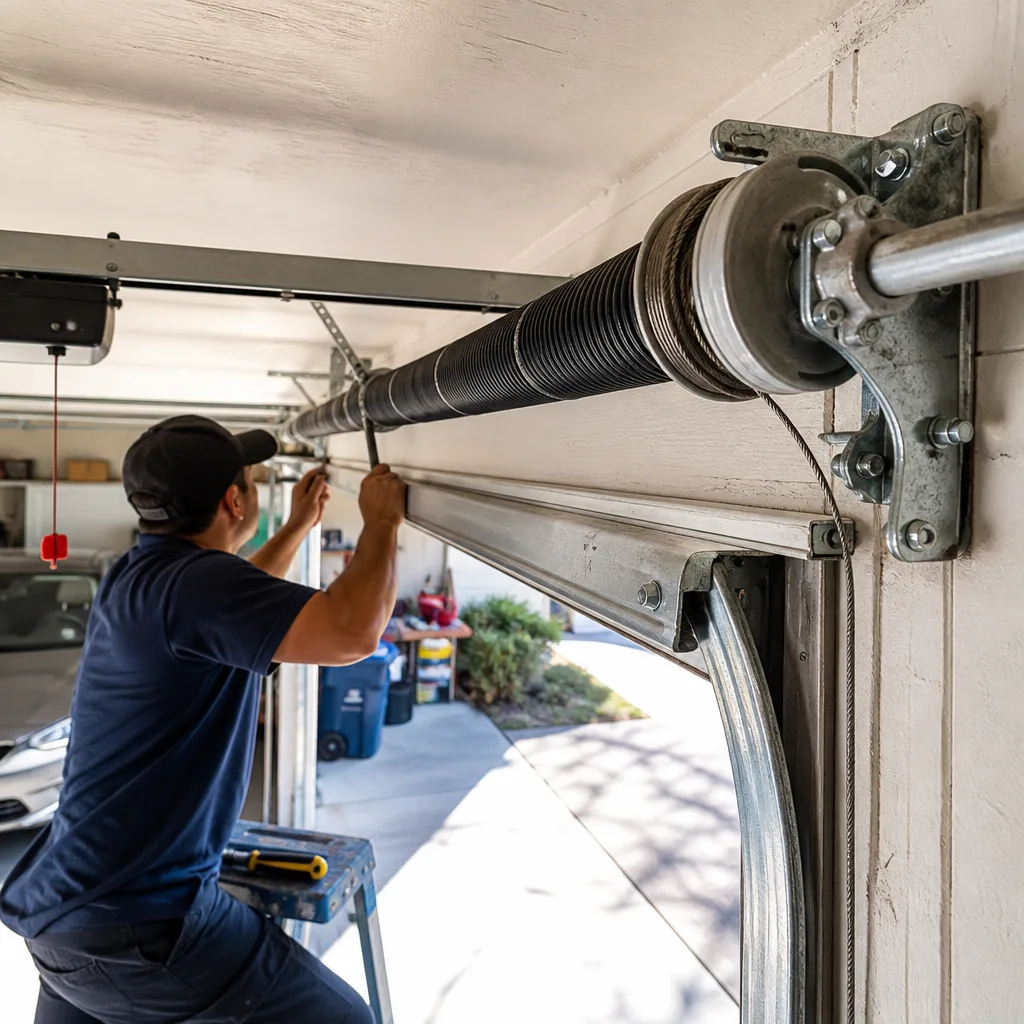
Torsion springs sit on a metal shaft above the door opening, wound tightly enough to counterbalance the door’s entire weight. A standard 16-foot by 7-foot steel door weighs about 150 to 250 pounds depending on insulation and material. The springs make that door feel like it weighs 15 pounds. That’s the mechanical bargain: the spring stores the energy so your arm doesn’t have to.
The problem comes when that stored energy releases uncontrolled. When a torsion spring snaps, the two halves spin violently in opposite directions along the shaft. If a tool, a finger, or an eye is in the path of that release, the outcome is severe. We’re not talking about a bruise. We’re talking about injuries that change lives.
In Studio City garages, we regularly see torsion spring failures on doors that are 10 to 15 years old, especially in homes where the garage faces south or west and bakes in the San Fernando Valley afternoon sun. The heat accelerates metal fatigue. A spring that would last 12 years in a shaded garage off Colfax Avenue might fail at 8 years on a west-facing door near the 101. Once one spring goes, the second often follows within weeks, because both have cycled the same number of times.
Here’s the practical rule we tell homeowners: if the fix involves winding or unwinding a torsion spring, stop and make the call. The winding bars themselves, the two steel rods that fit into the spring’s winding cone, are the tool that makes the difference, and they’re not in most homeowner toolboxes. Using screwdrivers or rebar substitutes is genuinely dangerous. We’ve seen spring cones rounded out by improvised tools, which turns a simple spring replacement into a shaft replacement. The part cost goes from $60 to $250, and the labor doubles.
For everything related to springs, cables, or the counterbalance system, the risk-to-savings ratio doesn’t pencil out. A professional spring replacement in Studio City runs between $180 and $350 depending on the spring size and door weight. The emergency room co-pay for a hand injury starts higher than that, and that’s before considering lost work or permanent damage. The math isn’t close.
California’s Homeowner Exemption and What It Actually Covers
California law regulates garage door work under the Contractors State License Board (CSLB). A contractor performing garage door installation or repair for compensation must hold a license, either a C-61/D-28 specialty license for garage doors specifically or a general B license. That’s the legal baseline for anyone you hire.
But California also recognizes a homeowner exemption. Assembly Bill 1097 and the CSLB’s published guidance confirm that an owner-builder can perform work on their own single-family residence without a contractor’s license, provided the work isn’t being done for resale within a year and the property isn’t a rental. In practical terms: yes, you can legally replace your own garage door springs or install your own door on your own house. The law doesn’t stop you.
What the law also doesn’t do is catch you when the spring slips. The homeowner exemption assumes you understand the risk you’re taking. It doesn’t validate the decision.
One more California-specific layer: many Studio City homes sit in hillside zones governed by the Mulholland Scenic Parkway Specific Plan or Studio City Neighborhood Council design guidelines. If your garage faces the street and you’re doing a full door replacement, some overlays require design review for the door’s style and color. A Garage Door Installation in Studio City professional knows which doors trigger review and which sail through, which saves weeks on the back end.
The Hidden Costs of DIY That Nobody Quotes Up Front
The attractive DIY price tag is usually just the part cost. A torsion spring pair from an online retailer might run $80 to $120. That’s what shows up in the mental math. Here’s what doesn’t:
- Voided warranties: Most major manufacturers, including Amarr, Clopay, and Wayne Dalton, condition their door warranties on installation by certified professionals. If you install the door yourself and the door later develops a structural issue, the manufacturer can deny the claim. We’ve seen this exact scenario play out with a Wayne Dalton door in a Studio City home: the homeowner installed it himself, a section delaminated within 18 months, and the warranty claim was declined because the installation wasn’t certified.
- Part sourcing markups: Homeowners buying a single spring or a single panel pay retail. We buy at volume pricing from the same manufacturers. More importantly, we know the exact spring wire size, inner diameter, length, and wind direction needed for your specific door. Ordering the wrong spring online isn’t just a $90 mistake; it’s a week of waiting for the return, a week with the car trapped in the garage, and then the professional call anyway.
- Diagnostic errors: A door that won’t open can be a spring, an opener logic board, a broken gear, a stretched chain, a bent track, or a misaligned sensor. Guess wrong and you buy parts you didn’t need, replace components that weren’t broken, and delay the actual fix. We diagnose brand-specific systems daily at Garage Door Opener Repair in Studio City callsites, and the number of times the real problem isn’t what the homeowner assumed is high.
- Tool acquisition: Winding bars, a torsion spring gauge, proper jack stands for the door, a torque wrench for track bolts, and a ladder tall enough to safely reach the spring shaft. A homeowner doing a spring replacement correctly needs $150 to $250 in tools they’ll use once.
- Time and opportunity cost: A professional spring replacement takes 45 to 90 minutes. A typical first-time DIY spring replacement, if it goes well, takes four to six hours counting research, part pickup, the actual work, and troubleshooting. That’s a full Saturday gone.
The right part, the right fix is our operating principle, and it’s the hidden advantage of professional service. We carry common spring sizes, cables, rollers, hinges, and opener components on the truck when we roll out to Studio City calls. A homeowner doesn’t have that inventory advantage, and every missed part order is another day with the car stuck inside.
Scenario by Scenario: What Studio City Homeowners Should Actually Do
Abstract categories help, but real decisions happen when the door is stuck and you’re standing in the driveway. Here’s how we evaluate the most common Studio City scenarios, from the spring to the smart opener.
Broken Torsion Spring
Verdict: Professional, every time. The spring snaps, the door becomes a 200-pound dead lift, and the fix requires winding a new spring under full torsion force. This is the single most dangerous repair in residential garages. Call a professional. In Studio City, the spring replacement should be quoted before any work starts, and a technician should show up with the correct spring on the truck.
Bottom Weatherseal Worn or Torn
Verdict: DIY all day. The rubber strip on the bottom of the door slides out of its channel or unscrews from the retainer. You’ll need a replacement seal sized to your door width, a hacksaw or utility knife to trim it, and about 40 minutes. This is the perfect first DIY garage project. The visual difference is immediate, and the functional payoff, keeping Studio City’s dry heat and the occasional winter rain from creeping under the door, is real.
Opener Remote Stopped Working
Verdict: Start DIY, with an easy out. Change the battery first. Then check if the wall button works. If it does, reprogram the remote using the learn button on the opener motor unit. If you’ve done all three steps and the remote still won’t pair, the logic board inside the opener may be failing. That’s when the Garage Door Opener Repair in Studio City call becomes the right move, because the problem has moved from the simple handheld device into the motor unit itself.
Dented or Damaged Panel
Verdict: Professional, but for a different reason than springs. A single panel replacement is doable with two strong people and careful disassembly, but the failure mode is the rest of the door. If the door is 10+ years old, the new panel won’t color-match the old ones, and the structural connection between panels can be compromised. We often recommend evaluating whether a panel replacement extends the door’s life meaningfully or whether a full Garage Door Installation in Studio City makes more long-term sense. The assessment should be free.
Noisy Operation
Verdict: DIY first. Purchase a can of white lithium grease and spray the rollers, hinges, and the torsion spring itself. Avoid WD-40, which displaces the heavier lubricant the moving parts actually need. If the noise persists after lubrication, the problem is likely worn rollers or a spring losing its balance, and that’s a professional diagnostic. A Genie, Clopay, or Amarr door running on nylon rollers should be nearly silent; steel rollers on a dry track will grind.
Door Off Track
Verdict: Professional. A door off its track means the cables on one side have gone slack or broken, which means the spring tension is now asymmetric. Attempting to muscle the door back onto the track while the spring system is unevenly loaded is how fingers get crushed and cables whip free. Brake the door in place, lock it if possible, and make the call.
What DIY-Appropriate Tasks Actually Require
We don’t believe in the “just call a professional for everything” hedge. Four of the tasks we listed as DIY-appropriate are genuinely within reach of a careful homeowner, and here’s what each one actually involves so you can decide with real information.
1. Bottom Weatherseal Replacement
- Measure the door width and purchase a replacement seal to that exact measurement. Studios City hardware stores and online retailers both carry common sizes.
- Remove the old seal. If it’s a T-style seal, it slides out of the channel at one end. If it’s nail-on, remove the retaining screws.
- Clean the channel or retainer with a rag. This is the step most people skip, and it’s why the new seal binds halfway through installation.
- Feed the new seal in, starting at one end and pulling it through the channel. A drop of dish soap helps it slide.
- Trim the excess and reinstall the end caps or screws.
Tools needed: tape measure, flathead screwdriver, utility knife, dish soap. Time: 40 minutes. Risk: none.
2. Safety Sensor Realignment
- Locate both photo-eye sensors, one on each side of the door opening near the floor.
- Check whether the LED indicator on each sensor is solid or blinking. A blinking light means misalignment or obstruction.
- Wipe the lenses with a soft cloth. A single spider web across the lens will trip the safety system.
- Loosen the wing nut on the bracket and gently pivot the sensor until the LED turns solid.
- Tighten the wing nut and test by pressing the wall button. If the door reverses repeatedly, the sensor may be faulty and need replacement, which is a simple swap.
Tools needed: soft cloth, adjustable wrench or your fingers for the wing nut. Time: 10 minutes. Risk: none.
3. Remote Reprogramming
- Locate the learn button on the opener motor unit. On LiftMaster and Chamberlain units it’s usually a yellow, purple, or red button on the back or side of the unit. On a Genie, it’s typically a small black button near the antenna.
- Press and release the learn button. The indicator light will glow or the unit will beep.
- Within 30 seconds, press the button on the remote you’re pairing. The opener light will flash to confirm.
- Test the remote from outside the garage with the door closed. If it works, you’re set. If not, repeat the sequence with fresh remote batteries installed.
Tools needed: a ladder if the opener is ceiling-mounted, fresh batteries for the remote. Time: 10 minutes. Risk: none.
4. Track and Hinge Lubrication
- Purchase a can of white lithium grease or spray silicone lubricant. Avoid penetrating oils.
- Apply a thin layer to the rollers’ bearings, the hinges’ pivot points, and the torsion spring coil faces.
- Wipe away excess with a rag.
- Cycle the door two or three times to distribute the lubricant.
Tools needed: lubricant, step ladder, rag. Time: 15 minutes. Risk: minimal, but keep your hands clear of the spring coils while the door moves.
Studio City Specifics: Climate, Code, and Your Garage Door
Studio City’s garage doors live a particular life. The San Fernando Valley’s dry heat, dust, and occasional Santa Ana wind events create a wear pattern that’s different from coastal Los Angeles or the Westside. Understanding that pattern helps you make better decisions about maintenance, repair timing, and when to replace.
The valley heat is the dominant factor. Garage interiors in Studio City routinely reach 110 to 120 degrees Fahrenheit in August and September, especially on south-facing and west-facing lots along Ventura Boulevard’s commercial corridors and the residential streets that climb toward Mulholland. That heat bakes the grease out of rollers and hinges, accelerates torsion spring metal fatigue, and warps cheap weatherseals. A homeowner who lubricates tracks twice a year, once in April and once in October, gets meaningfully longer life from their rollers and springs than one who doesn’t.
The dust is the second factor. Santa Ana winds carry fine particulates that settle into opener motors, clog photo-eye lenses, and grind into track channels. We regularly see openers in Studio City fail because their internal gears are packed with years of accumulated dust. If your garage sits near one of the canyon mouths, the particle load is higher, and an annual wiping of the tracks and sensor lenses makes a measurable difference.
Code-wise, Studio City falls under the City of Los Angeles building code. Since 2019, all new garage doors and replacements must be installed with an automatic reversing mechanism and photo-eye sensors as standard. Battery backup for openers has been part of the California Building Standards Code since 2019 as well. If your door predates these requirements, a replacement brings you up to code automatically.
Homes in the Studio City hills also contend with sloped driveways and reinforcement requirements for windy canyon exposure. A door installed on a slope needs a slightly different track configuration to open and close smoothly without dragging. These are the details that a professional install includes automatically and a homeowner’s first DIY install often misses.
We’ve been working on doors in Studio City long enough to know which neighborhoods have specific patterns. The mid-century homes in the flatlands south of Ventura tend to have original wood doors that are beautiful and heavy. The newer hillside construction features insulated steel doors from Clopay, Amarr, and Wayne Dalton, chosen for their heat resistance and quiet operation. Each door type ages differently, and the maintenance schedule should follow accordingly.
Common Mistakes to Avoid
- Using the wrong lubricant on a quiet door: WD-40 and other penetrating oils strip the heavier grease that hinges and rollers actually need. The door quiets down for two days, then gets louder as the metal-on-metal contact worsens. Stick with white lithium grease or silicone spray.
- Ordering a torsion spring by “the look” instead of the specs: Springs are sized by wire diameter, inner diameter, length, and wind direction. Two springs that look identical can carry completely different torque ratings. Guess wrong and the door won’t balance, which burns out openers and stresses the cables.
- Disconnecting the opener to lift a door with a broken spring: You’re still lifting 200 pounds of door without counterbalance. Even if you get it open, you’re forcing the cables through pulley positions they weren’t designed for under that load. This is how cable drums get damaged and how fingers get pinched.
- Replacing one spring instead of two: When one torsion spring fails, its partner has cycled the same number of times and is near its own failure point. Replacing only the broken one means you’ll be back in the driveway in weeks or months doing the job again. A professional replaces both as a matched pair.
- Ignoring a noisy door for months: Grinding, popping, or scraping sounds are symptoms, not personality. In Studio City, a door that goes from quiet to loud in a span of weeks is usually telling you a spring is weakening or a roller is seizing. Fix it while it’s a $40 roller replacement, not a $250 spring job.
- Filing down photo-eye lenses that keep tripping: The sensors trigger for a reason. Bypassing or altering them disables the safety system that prevents the door from closing on a child or pet. Clean them, realign them, replace them, but never defeat them.
- Forcing a door that resists manual operation: If you’ve pulled the release cord and the door is still hard to lift, that’s the spring telling you it’s failing. The harder you force the door open, the further you overload the remaining spring tension and the cables. This is the point where you stop pulling and start dialing.
When to Call a Professional
The decision to call a professional usually comes down to one of four situations. First, any task involving the spring system, cables, or counterbalance assembly: this is a hard stop, no exceptions. Second, any repair you’ve attempted that hasn’t worked after two honest attempts: the diagnostic picture has changed, and continuing to guess costs more than the call. Third, any door issue on a garage that serves as your family’s daily entry point: a house where the garage is the primary door deserves a door that works correctly every time, not a temporary fix. Fourth, any replacement or installation of a full door or opener system: the measurements, balance, and safety calibration are too precise to wing it. Mustang Garage Door Service offers free estimates in Studio City, call (855) 633-3903. We’ll tell you what’s wrong, what it costs, and whether the job is one you should still consider doing yourself. No pressure, just straight answers.
Frequently Asked Questions
Garage door repair in Studio City typically runs between $150 and $450 depending on the component. A torsion spring pair replacement is $180 to $350. A roller replacement is $120 to $200. A cable replacement is $140 to $260. An opener gear or logic board repair is $150 to $300. The final price always depends on your door’s specific size, weight, and brand. Call our team at (855) 633-3903 for a quote before any work starts.
No. Torsion springs store hundreds of pounds of torque, and the winding process requires special tools and exact technique. A slip during winding can cause severe injury. This is the one garage door repair where the risk is genuinely not worth the savings.
Yes, in most cases. The remote, keypad, and even the travel limits on a LiftMaster, Chamberlain, Genie, or Craftsman opener can be adjusted by a homeowner following the printed manual. The limit is the internal electronics: if the logic board or motor gear is failing, that’s a professional repair.
In most cases, no. A like-for-like door replacement doesn’t require a building permit under Los Angeles code. However, if your home sits in a hillside overlay zone with design review requirements, the door style may need review board approval. A professional installer in Studio City knows which situations trigger that review.
In Studio City, heat expansion in the metal tracks and rollers is usually the culprit. As the metal warms, the door can bind on the track and trigger the opener’s force limiter. Lubricating the tracks helps, but a persistent half-open problem usually means a track alignment issue or a failing spring. We see this pattern most often in August and September on uninsulated garages.
An average steel door lasts 15 to 20 years in Studio City. The combination of valley heat, dust, and infrequent maintenance shortens that lifespan compared to coastal areas, where doors often last 20 to 25 years. Springs last 8 to 12 years regardless, and openers typically last 10 to 15 years before the motor or gear train gives out.
The Bottom Line
The DIY-versus-professional decision for garage doors isn’t a personality test; it’s a physics problem. The tasks worth doing yourself are the ones with no stored energy: weatherseals, sensors, remotes, lubrication. The tasks that demand a professional are the ones where the door’s own stored force can hurt you if something slips. That line runs straight through the spring system, the cables, and the structural components. Stay on the right side of it, and the math works out. Cross it, and the savings disappear fast. Mustang Garage Door Service covers both sides, from the spring to the smart opener, with brand-specific fixes for whatever door you already have. When the job’s beyond the safe DIY line, we’ll quote it free before the work starts, and we’ll do it right the first time.
Written by the team at Mustang Garage Door Service, serving Studio City since 2011.
See the difference
 Before
 After
 Before
 After
 Before
 After