
Last updated November 2, 2026
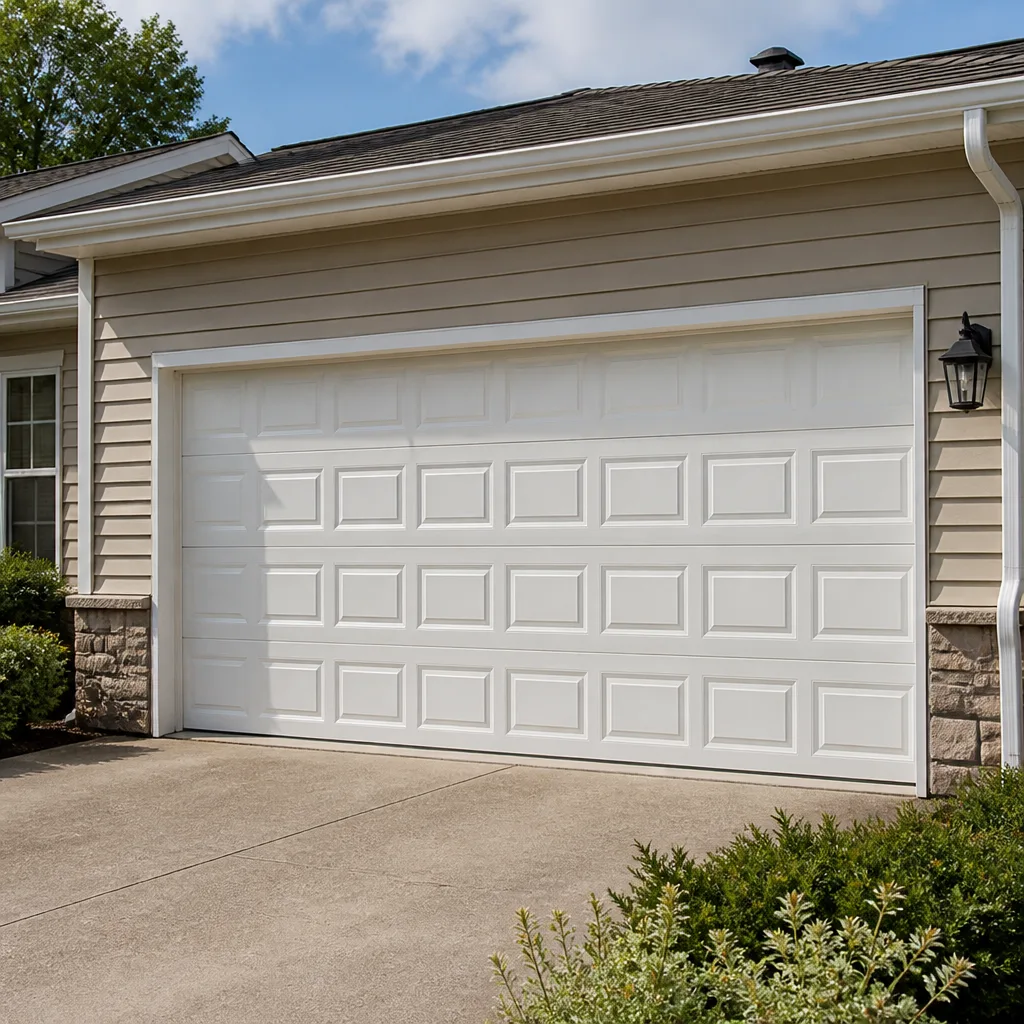 Raised-panel steel
 Carriage house
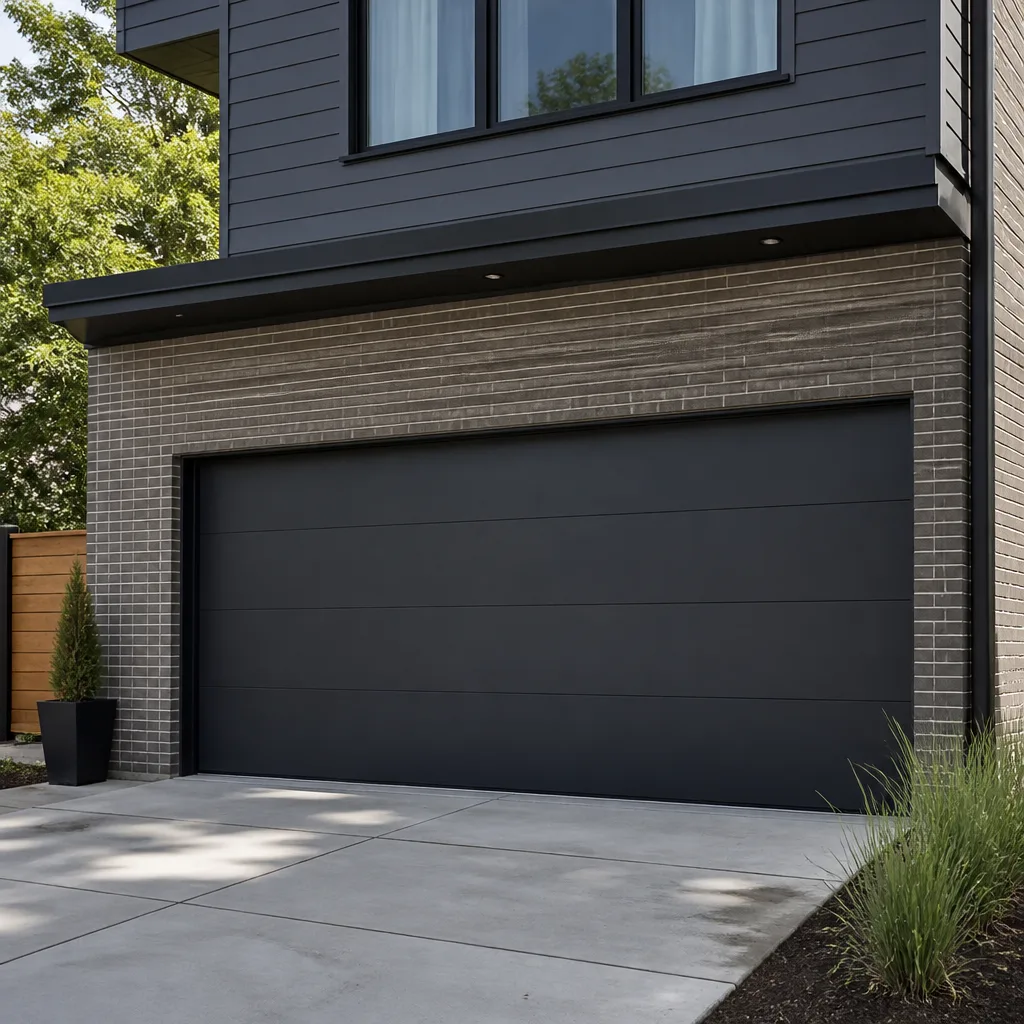 Modern flush
 Full-view glass
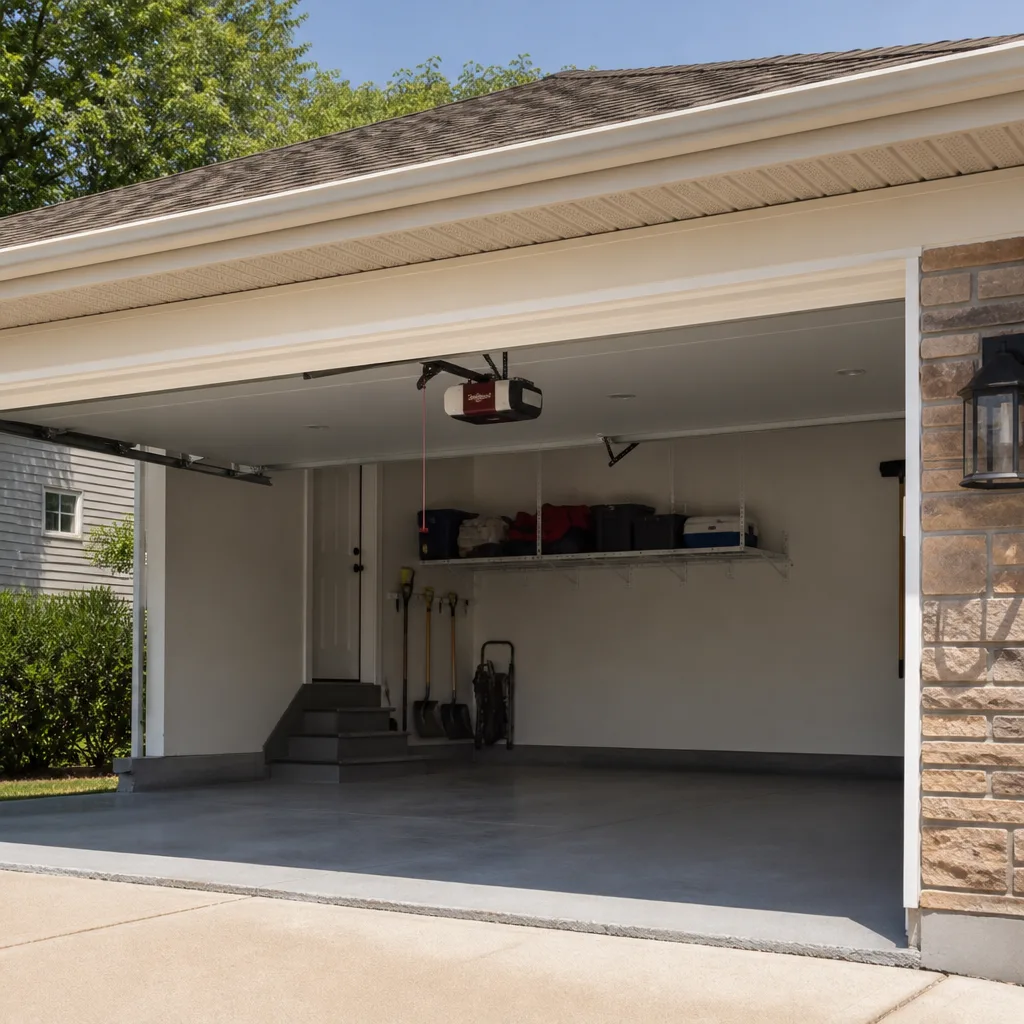 LiftMaster openers
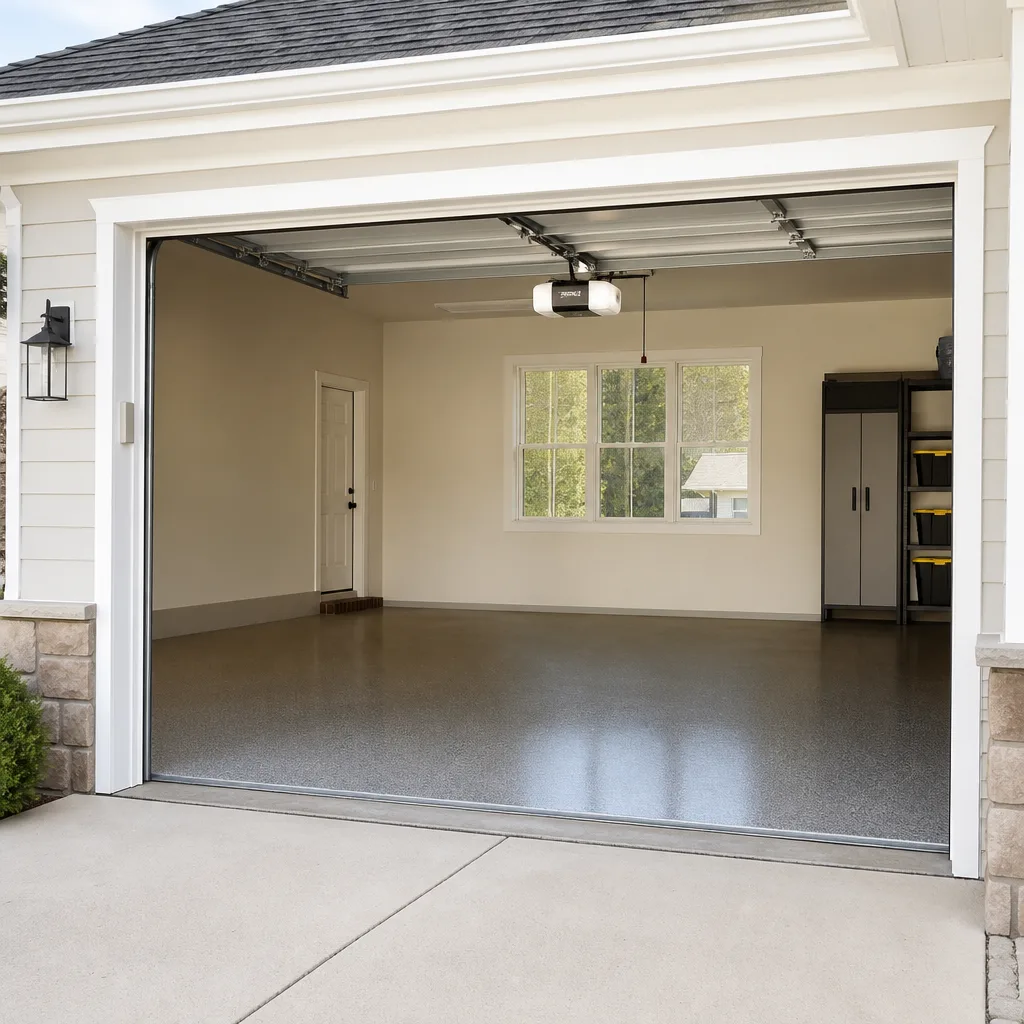 Chamberlain openers
Full 25-point door and opener safety check with every visit - springs, cables, rollers, tracks, and your LiftMaster or Chamberlain opener included
You get a price before we start. It does not change when the truck arrives.
Get your free estimateGarage Door Repair Maintenance Checklist for Studio City Homeowners
Here’s a number that surprises most Studio City homeowners: the average garage door cycles open and closed roughly 1,500 times a year. That’s 1,500 chances for a spring to creep out of balance, a roller to flatten, or a cable to start fraying. And unlike a car, there’s no dashboard light that tells you something’s wrong before it fails. Most people don’t think about their garage door until it refuses to open at 7 a.m. on a workday, or worse, comes crashing down because a cable snapped. This guide is a maintenance checklist built specifically for the doors and openers we actually see in Studio City, from the hillside homes off Mulholland to the mid-century ranches in the flatlands. For Garage Door Warning Signs: A Studio City Homeowner’s Reference Guide, see our companion post. It covers what to check, what to lubricate, what to leave alone, and how often to do it.
Quick Answer
A proper garage door maintenance checklist for Studio City homes includes monthly visual inspections of springs, cables, rollers, and tracks; twice-yearly lubrication with a lithium-based grease on hinges and a silicone spray on rollers and weatherstripping; a quarterly force-resistance test on your opener; and annual professional inspection of torsion spring tension and cable wear. Most of this is DIY-safe, but anything involving torsion springs, cables under tension, or opener motor internals should be handled by a trained technician. Our Garage Door Repair services cover these high-risk components.
Styles & brands we work with
- Raised-panel steel
- Carriage house
- Modern flush
- Full-view glass
- LiftMaster openers
- Chamberlain openers
Table of Contents
- The Lubrication Guide That Actually Names Products
- The Force-Resistance Test Most Homeowners Skip
- What Actual Cable Fraying Looks Like (and What’s Just Dust)
- Studio City Seasonal Timing: What to Do and When
- DIY-Safe Tasks vs. Tasks That Can Hurt You
- Opener-Specific Maintenance: Genie, LiftMaster, and Chamberlain
- Track and Roller Checks That Prevent Bigger Failures
- Common Mistakes to Avoid
- When to Call a Professional
- Frequently Asked Questions
The Lubrication Guide That Actually Names Products
Spraying WD-40 on a torsion spring is one of the most common homeowner maintenance mistakes we see in Studio City. It appears on dozens of popular checklists as sound advice, and it’s exactly wrong. WD-40 is a solvent and water displacer, not a lubricant. On a torsion spring, it strips the protective factory coating and accelerates corrosion, which in our dry, dusty climate is already a concern when Santa Ana winds blow fine grit into every crevice of your garage. So let’s be precise about what goes where.
Here’s the component-specific guide we give homeowners who want to do this right:
- Torsion springs: Use a white lithium grease spray or a dedicated garage door spring lubricant. Apply a light coat along the top of the spring where coils rub together. Do not drench it. Twice a year is plenty in Studio City’s climate. The goal is to reduce friction between coils, not to create a dripping mess that collects dust.
- Steel rollers: Use a silicone spray or a light machine oil like 3-in-1. Apply to the bearing area where the wheel meets the stem. If you have nylon rollers, they don’t need lubrication on the wheel itself, but the stem bearings do. Skip the grease here, it attracts grit.
- Hinges: White lithium grease works best because it stays put. A thin dab on each pivot pin, not the entire hinge plate. Wipe away any excess that squeezes out when you work the hinge by hand.
- Tracks: Do not lubricate them at all. This is another bad piece of advice that circulates. Tracks are not a friction surface, the rollers ride inside them on bearings. Greasing tracks makes them sticky and turns them into a dirt magnet. If your tracks look dirty, wipe them with a dry cloth. If the door is struggling on the tracks, the problem is alignment or roller wear, not dryness.
- Weatherstripping and seals: A silicone-based protectant keeps rubber and vinyl flexible. This matters in Studio City because our summer heat bakes south-facing garage doors, and dried weatherstripping cracks and lets dust and insects in. Apply every three to four months during summer.
If you’re unsure what’s already on your springs, look for a dry, chalky surface versus a wet, oily sheen. Springs should feel lightly slick, not greasy. When in doubt, call a pro who works on your specific door brand. Our team at Mustang Garage Door Service regularly services Clopay, Amarr, and Wayne Dalton doors across Studio City, and the spring coatings differ between manufacturers, which is why brand-specific knowledge matters here.
The Force-Resistance Test Most Homeowners Skip
Your garage door opener has a built-in safety system that most people never think about until it fails. Since 1993, federal law has required all residential openers sold in the U.S. to include an auto-reverse mechanism that stops and reverses the door if it hits an obstruction. But the mechanism only works if the force settings are correctly calibrated, and those settings drift over time as springs settle and rollers wear. Testing it takes two minutes and should be done every three months.
Here’s the step-by-step, straight from how we test openers on service calls across Studio City:
- Close the garage door completely. Place a 2×4 piece of wood flat on the ground directly under the center of the door where it meets the floor.
- Press the remote or wall button to close the door. Watch what happens when the door hits the wood.
- The door should stop and reverse direction within two seconds of contact. It should not crush the wood, splinter it, or continue pushing down.
- If the door does not reverse, or if it reverses slowly and with visible strain, the force setting is too high. This is the danger zone. A door set too high can pin a child, a pet, or an adult against the concrete.
- On a LiftMaster or Chamberlain opener, you can adjust the force dial on the motor unit. On a Genie, the adjustment is on the back of the motor housing. Make small quarter-turn adjustments, then retest.
There’s also a second safety test: the photoelectric sensor test. With the door open, wave your hand in front of one of the small sensors mounted about six inches off the floor on each side of the door opening, then press the close button. The door should not move, or if it’s already moving down, it should reverse immediately. If the sensor lights are blinking or misaligned, that’s a common issue we address during Garage Door Opener Repair in Studio City calls. The fix is usually realigning the sensor brackets, but if the problem persists, the sensor wire or logic board may be failing.
In our experience with Studio City homes, openers that are ten to fifteen years old are the most likely to have drifted force settings. Homeowners who’ve lived in a house for a decade often don’t realize the door has been closing harder than it should because the change is gradual. Testing once a quarter catches it.
What Actual Cable Fraying Looks Like (and What’s Just Dust)
Cable inspection sounds simple, and most checklists reduce it to “look for wear.” That’s not helpful. Here’s what we actually look for when we inspect cables on service calls in Studio City, and what you can check from the ground without touching anything. For step-by-step diagnostics, see our Garage Door Repair Troubleshooting: Common Problems and How to Fix Them.
First, understand what you’re seeing. The lift cables are the twisted steel wires that run vertically along each side of the door, attached at the bottom bracket, running up and wrapping around drums at the top. They carry the door’s weight when the torsion spring does its job. When a cable frays, individual wire strands begin to separate from the main bundle, like the end of a rope that’s been untwisted. That’s the early warning. What most homeowners mistake for fraying is actually accumulated dust and grease, which clings to the cable and forms a fuzzy coating. Dust wipes off and leaves smooth cable underneath. Fraying does not wipe off, and if you look closely, you’ll see shiny broken strands poking outward.
Here’s what to look for during a monthly visual check:
- Broken strands near the bottom bracket: This is the most common failure point because that’s where the cable bends at the tightest angle. Look for a slight bulge or “birdcage” in the cable about six inches above the bottom attachment.
- Rust or dark discoloration: In Studio City, moisture is less of a factor than in coastal neighborhoods, but garages that aren’t climate-controlled can still see condensation in the winter. Surface rust is cosmetic. Deep rust that flakes off when the cable moves is structural.
- Uneven cable seating on the drum: If one cable is wrapped neatly and the other overlaps itself on the drum, that signals a tension imbalance. The door may still operate, but the uneven load will eventually snap the stressed cable.
- Loose cable when the door is up: If you see a cable hanging slack when the door is fully open, the spring has likely lost tension or a drum is slipping. This is a stop-using-the-door situation. Call a professional.
Do not touch the cables. Do not try to tighten them. Do not attempt to re-seat a cable that has slipped off its drum. These cables are under tension that can exceed the weight of the door itself, and a cable that lets go can whip with enough force to cause serious injury. If you spot any of these warning signs, that’s a call to a trained technician, not a weekend fix.
For homeowners with Clopay doors, which we see frequently in Studio City, the cable assembly is slightly different from an Amarr system, with different drum profiles. The brand matters because the replacement cables and drums are not universal. A technician who orders parts by door manufacturer and model rather than by “generic cable” is going to give you a more precise repair. That’s how we approach Garage Door Repair in Studio City.
Studio City Seasonal Timing: What to Do and When
Published maintenance checklists tend to assume a four-season climate where you prep for winter in October and wake the door from springtime thaw in April. Studio City has two seasons that matter for your garage door: the hot, dry stretch from June through October, and the cooler, occasionally damp stretch from November through March. Here’s a schedule tuned to what actually affects hardware in the San Fernando Valley.
June through October: Heat and Dust Season
- Monthly: Check weatherstripping for cracks and brittleness. South-facing doors on Studio City homes take direct afternoon sun, and rubber seals can harden in a single summer.
- Monthly: Wipe down tracks with a dry cloth. Santa Ana winds push fine dust through garage vents, and dust buildup on rollers and hinges accelerates wear.
- Twice per season: Apply silicone protectant to weatherstripping and bottom seals. This keeps the rubber supple enough to maintain a good seal against our summer dust and whatever critters are trying to get in.
- Once in early summer: Do the full lubrication pass described in the section above. Heat makes lubricant run off more quickly, so a light reapplication mid-summer helps.
November through March: Cool and Variable Season
- Monthly: Check for rust on cables and springs. Cooler nights can create condensation in uninsulated garages, which is the one time of year we see moisture-related corrosion on Studio City doors.
- Once per season: Test the auto-reverse mechanism and photoelectric sensors. Cold snaps are when we see force settings drift, because metal contracts slightly and changes the door’s travel resistance.
- After heavy rain: Check the bottom seal for standing water or debris. Studio City doesn’t flood often, but when we do get a heavy downpour, leaves and silt can collect in the track and bind the rollers.
- Once in late winter: Do a complete visual inspection of all hardware: hinges, bolts, brackets, and spring mounting pads. Mild winters mean outdoor projects, and many Studio City homeowners put off garage maintenance until the first heat wave. Catching a loose hinge in February is easier than replacing a thrown roller in July.
This twice-a-year rhythm covers the real wear points without turning garage maintenance into a part-time job. If you follow this calendar, you’ll catch most issues before they become urgent calls.
DIY-Safe Tasks vs. Tasks That Can Hurt You
We’re going to be honest here, because a maintenance guide that doesn’t warn you about danger is doing you a disservice. Most of this checklist is DIY-friendly. A few items are genuinely dangerous, and they look deceptively simple on video tutorials. Here’s the honest breakdown.
DIY-Safe: Go Ahead
- Lubricating hinges, rollers, and springs with the right products, as described above.
- Wiping down tracks and checking for debris.
- Testing the auto-reverse mechanism and photoelectric sensors.
- Visual inspection of cables, springs, and rollers for visible damage.
- Tightening loose hinge bolts and screws with a hand wrench. Do not use an impact driver on door hardware.
- Applying silicone protectant to weatherstripping.
- Replacing remote batteries and reprogramming remotes. Most LiftMaster and Genie remotes have simple learn-button programming.
Call a Professional: Do Not Attempt
- Adjusting, replacing, or even touching a torsion spring under tension: Torsion springs store enough energy to break bones or kill. The winding bars used to adjust them must be the correct size and fully inserted into the winding cone. A slip during adjustment sends a metal bar flying at skull height. We’ve seen the aftermath of DIY spring work gone wrong, and it’s never worth the money saved.
- Replacing or adjusting lift cables: Cables under load can whip back with brutal force when they snap. Removing a cable from a drum without releasing spring tension first is asking for a trip to urgent care.
- Removing the bottom bracket: The bottom bracket is where the cable attaches and it’s under spring tension. This is not a part you unbolt while the spring is wound.
- Opener motor repairs: The motor, capacitor, and logic board inside the opener housing are not user-serviceable, and capacitors hold charge even when the unit is unplugged. If the opener hums but doesn’t move, or trips a breaker, call a professional.
- Track realignment: Persuading a bent track back into shape with a hammer or pry bar usually makes the problem worse and can send the door off its track entirely. Proper track work requires releasing tension, resetting the rollers, and checking the full run for plumb.
If you’re ever unsure which camp a task falls into, call before you start. We’d rather tell you something is safe than hear about someone who guessed wrong. Our Mustang Garage Door Service home page has the details on what we cover, and yes, free estimates mean we’ll come look before you commit to anything.
Opener-Specific Maintenance: Genie, LiftMaster, and Chamberlain
Openers get less attention than doors in most maintenance guides, which is a mistake. The opener is the component that gives out first in many Studio City homes, especially ones where the motor unit is mounted to a hot garage ceiling and runs a heavy double-wide door. Here’s what to check on the three opener brands we see most often in this area.
Genie Openers
Genie units use a screw-drive mechanism on many models, which means a long threaded steel rod runs from the motor to the door. Screw drives need lubrication about once a year. Use a white lithium grease designed specifically for screw drives, not a general spray. If your Genie opener makes a grinding noise when opening or closing, the screw is dry and you’re wearing the teeth every time you push the button. Older Genie models with chain drives should have the chain checked for slack once a year. A loose chain slaps against the rail and stretches over time. Tightening a Genie chain is a simple adjustment with a wrench on the tensioner, but if you’re not comfortable with it, this is a five-minute fix for a technician.
LiftMaster Openers
LiftMaster is the most common opener in Studio City, and most models use either a belt drive or a chain drive. Belt drives are quieter and don’t need tension checks as often, but the rubber belts can crack over time, particularly in hot garages. Look for hairline cracks along the belt surface once a year. Chain drive LiftMasters should have the chain checked for slack every six months. You should be able to press the chain at its midpoint and see about half an inch of give. More slack than that means the chain needs tensioning, which is done at the adjustment nut on the rail. Fewer than half an inch and it’s too tight, which puts strain on the motor and sprocket.
Chamberlain Openers
Chamberlain built many of the openers you’ll find in older Studio City homes, particularly the chain-drive models installed in the 1990s and early 2000s. These units are workhorses, but the plastic gears inside the motor housing degrade with heat and age. If your Chamberlain opener runs but you hear a clicking or grinding sound and the door doesn’t move, the internal drive gear has likely stripped. That’s a repair, not a maintenance item, but the maintenance item is this: check the travel limits once a year on older Chamberlain units. The limit switches tell the opener where “up” and “down” are, and they can drift on older models. If your door doesn’t open all the way, or reverses before it reaches the floor, the limits likely need resetting. The adjustment is on the side of the motor unit, under a plastic cover.
Across all three brands, the photoelectric sensors need a clear line of sight and clean lenses. Dust builds up on the sensor faces, and a layer of Studio City grime can cause false reversals. Wipe the sensor lenses with a dry microfiber cloth every couple of months. That simple step prevents a lot of “my door won’t close” calls.
If you need a deeper diagnosis or you’re uncomfortable working with the opener, our Garage Door Opener Repair in Studio City service is what you need. We work on all three of these brands and the parts are usually on the truck.
Track and Roller Checks That Prevent Bigger Failures
Tracks and rollers are the part of the system that most homeowners never look at, and they’re also the part most likely to cause a door to jump off its track mid-cycle. A track that’s slightly out of alignment puts lateral stress on the rollers, which then wear unevenly, which then causes the door to bind, which then causes the opener to work harder, which then kills the opener motor. It’s a chain reaction that starts with an eighth of an inch of drift.
What to Check Monthly
- Gap between roller and track: Look at a roller where it enters the vertical track. There should be a small, consistent gap on both sides of the roller wheel. If the roller is touching one side of the track consistently, the track is misaligned or the roller is worn.
- Track fasteners: Tracks are held to the wall and ceiling with brackets that bolt through the track. Walk the length of both tracks and look for bolts that have backed out. Loose bolts are the most common cause of track drift, and tightening them with a socket wrench is a DIY-safe fix. Do not overtighten, a snug fit is enough.
- Roller condition: Steel rollers wear out their bearings and start to wobble. Nylon rollers crack and flatten over time. If a roller doesn’t spin freely when the door moves, it’s sliding instead of rolling, which drags on the track and wears a flat spot into the metal.
- Track bends or dents: After any impact, like someone backing into the door or a ladder falling against the track, check for dents or kinks. A dented track is a safety issue because the door can hang up mid-cycle and then drop. Replace a bent track, don’t try to massage it back into shape.
If rollers need replacement, know that there are different sizes for different doors and brands. A roller that’s too small for the track will rattle and wear the track wall. A roller that’s too large will bind. We stock rollers for Amarr, Clopay, Wayne Dalton, and Raynor doors because Studio City homes have a mix of all of them, and it’s not a one-size-fits-all part.
Common Mistakes to Avoid
- Using WD-40 on springs: This is the big one. WD-40 is a solvent, not a lubricant. It strips the protective coating from torsion springs and leaves them more vulnerable to rust and coil wear. Use white lithium grease instead.
- Lubricating the tracks: Tracks don’t need lubrication, and adding grease or silicone to them creates a sticky surface that collects dust and grime. Rollers ride on bearings, not on the track surface. Keep tracks clean and dry.
- Ignoring a noisy door: A door that squeaks, grinds, or bangs is trying to tell you something. Noise is almost always friction, wear, or imbalance. Waiting until the noise becomes a failure means replacing parts that could have been saved with earlier maintenance.
- Over-greasing everything: More lubricant is not better. Excess grease flings off moving parts, collects dust, and creates a mess that attracts grit. A thin, even coat is the goal. If it’s dripping, you used too much.
- Relying on a visual spring check alone: Torsion springs can look fine and still be close to failure. The metal fatigues internally over thousands of cycles. If your door is 10 years old and the springs have never been replaced, or if the door feels heavy when you lift it manually, the springs need a professional evaluation regardless of how they look.
- Adjusting spring tension as a DIY project: This deserves a second mention because it’s the single most dangerous thing you can do around a garage door. The springs are under constant tension that’s stored even when the door is open. Winding bars must be inserted fully, and even then, a slip can cause serious injury. This is not a YouTube tutorial project.
- Skipping the balance test: If you don’t check the door’s balance, you’ll miss a failing spring until it breaks. The test is simple: close the door, pull the red emergency release handle to disconnect the opener, and lift the door manually. A balanced door should rise smoothly with light effort and stay open about three feet off the ground on its own. If the door is heavy or wants to drop, the springs are failing.
When to Call a Professional
Some things are maintenance, and some things are repairs, and the line between them is where people get hurt. If you see frayed cables, a spring with a visible gap in the coil, a door that’s off its track, or an opener that trips a breaker, stop using the door and call a professional. The same applies if the door doesn’t pass the force-resistance test after you’ve tried adjusting the settings, or if it feels unusually heavy during a manual lift. These aren’t tasks to keep at. They’re symptoms of a system that’s about to fail, possibly dangerously. We service all the brands we’ve mentioned here, and we’d rather come check a door that turned out to be fine than hear that a homeowner waited too long. Mustang Garage Door Service offers free estimates in Studio City, call (855) 633-3903 and we’ll come out, look at the whole system, and tell you exactly what it needs, with a price quoted and agreed before any work starts.
Frequently Asked Questions
Lubricate torsion springs, hinges, and rollers twice a year, once in early spring and once in early fall. In Studio City, where summer heat thins lubricant and Santa Ana winds blow dust, you may want to add a light reapplication to hinges and springs in mid-summer. The key is using the right product: white lithium grease on hinges and springs, silicone spray on roller bearings. Never use WD-40 on springs.
A loud grinding or squealing noise usually means dry metal parts, worn rollers, or a loose chain. Check the rollers first: steel rollers with bad bearings make a grinding sound as the door moves. A dry screw-drive opener, common on Genie models, makes a metal-on-metal squeal. Lubricate the right components and see if the noise quiets. If it doesn’t, a roller may need replacement or the opener may need service. Call (855) 633-3903 for a diagnosis.
No. Torsion springs are under extreme tension and store enough energy to cause serious injury or death if they release while you’re working on them. The winding bars, the correct tooling, and the experience to know when the spring is properly balanced are all required. This is the one garage door task we tell every Studio City homeowner to leave to a professional, no exceptions.
The simplest test is to disconnect the opener with the red emergency release handle and lift the door manually. A balanced door should lift with light effort and stay open about three feet off the ground. If the door feels heavy, wants to drop, or opens a few inches and then pushes back, the springs are losing tension. You may also see a visible gap between coils on a torsion spring. If either is true, call for a professional evaluation before the spring breaks.
First, check the photoelectric sensors on each side of the door track near the floor. Wipe off dust and make sure they’re aligned. If the sensor lights are steady, the issue may be the down-force setting or the travel limits. Older Chamberlain and LiftMaster openers are prone to limit drift. You can adjust these settings, but if the problem persists, the issue may be a failing logic board or a worn internal gear. Call (855) 633-3903 for an opener diagnosis.
That depends on the door’s condition and what it needs. Doors made of solid wood and well-maintained steel can last for decades with proper care, especially in Studio City’s dry climate where rust is less aggressive. The better question is whether the door’s hardware, springs, and panel condition justify continued investment. Replacement panels for old doors are often unavailable, and a door with structural damage or severe panel rot is a candidate for replacement. If the door is solid but the hardware needs work, repair makes sense. We’ll always tell you what the door actually needs, not what’s easier for us to sell. See our Garage Door Installation in Studio City page for details on your options.
The Bottom Line
A garage door is a mechanical system, and like any mechanical system, it responds to regular attention. The maintenance checklist for Studio City homeowners is straightforward: inspect monthly, lubricate correctly twice a year, test the opener’s safety features quarterly, and don’t touch anything under tension. What separates a door that lasts twenty years from one that fails at ten is rarely the quality of the parts. It’s whether anyone noticed the little things before they became big ones. If you follow this guide, you’ll catch most problems early. For more guides & resources, visit our blog. If you find something you’re not sure about, call us at (855) 633-3903. We’d rather check it than hear it broke.
Written by the team at Mustang Garage Door Service, serving Studio City since 2011.
See the difference
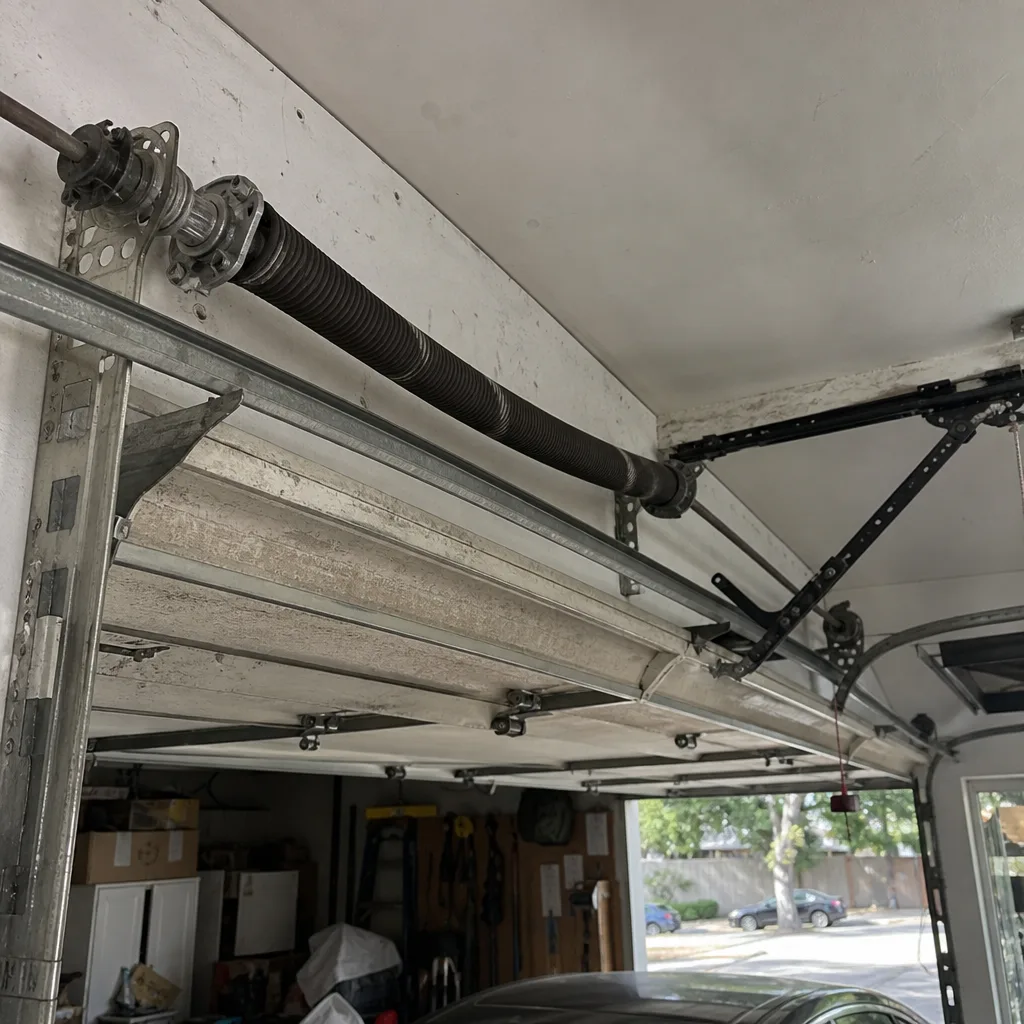 Before
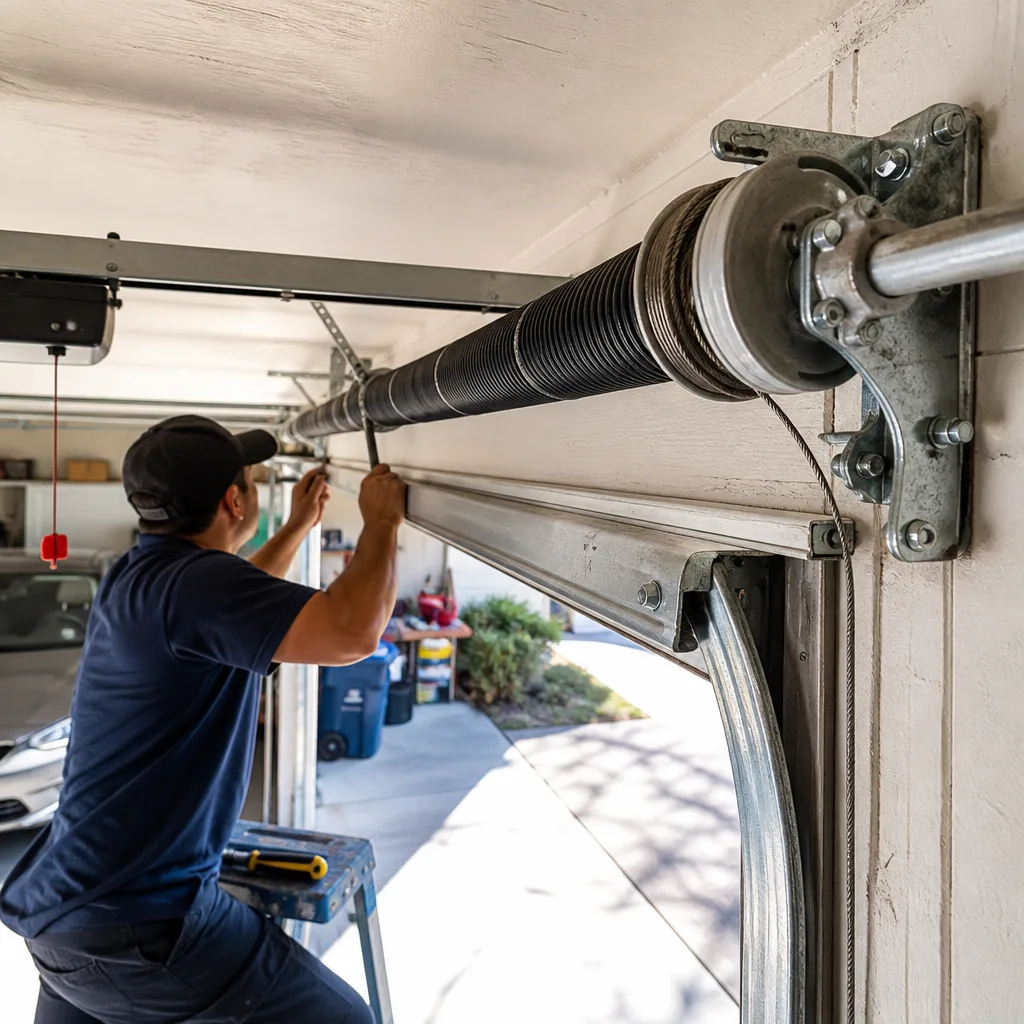 After
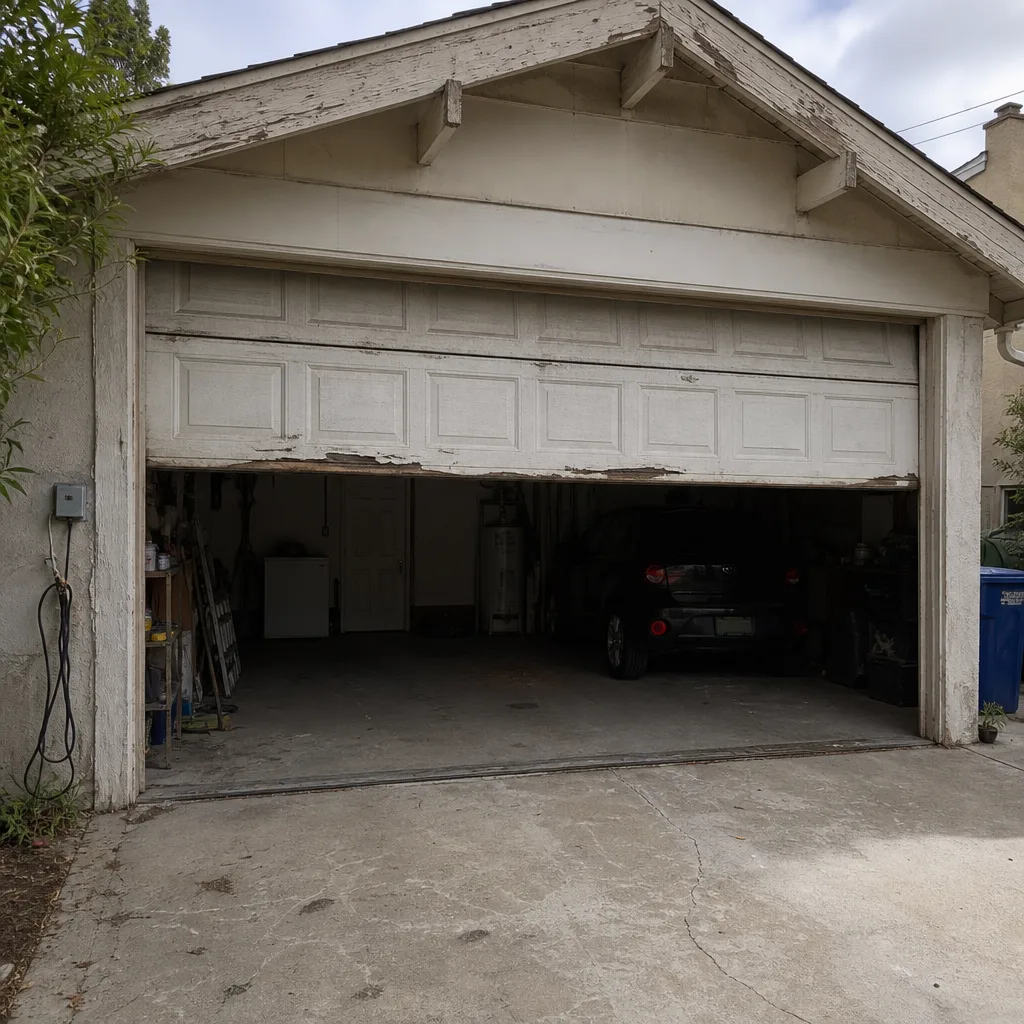 Before
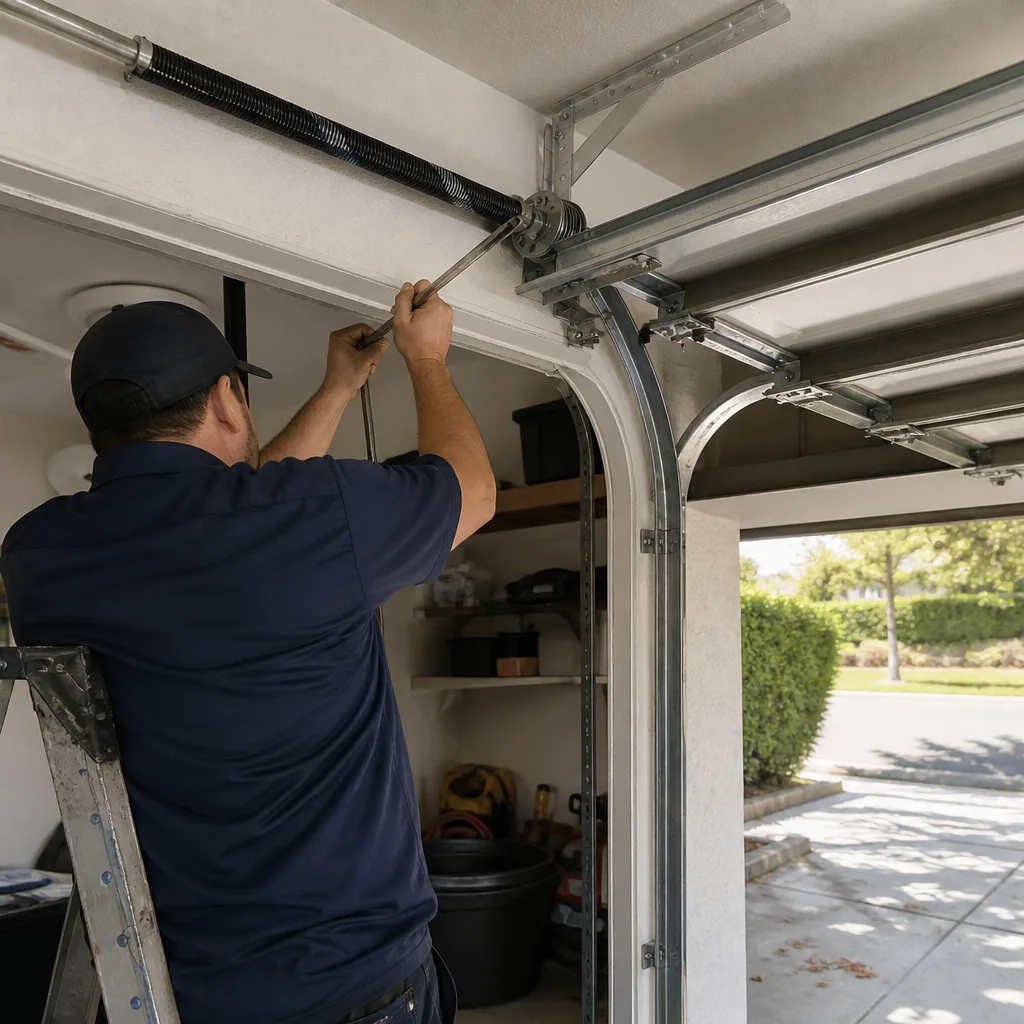 After
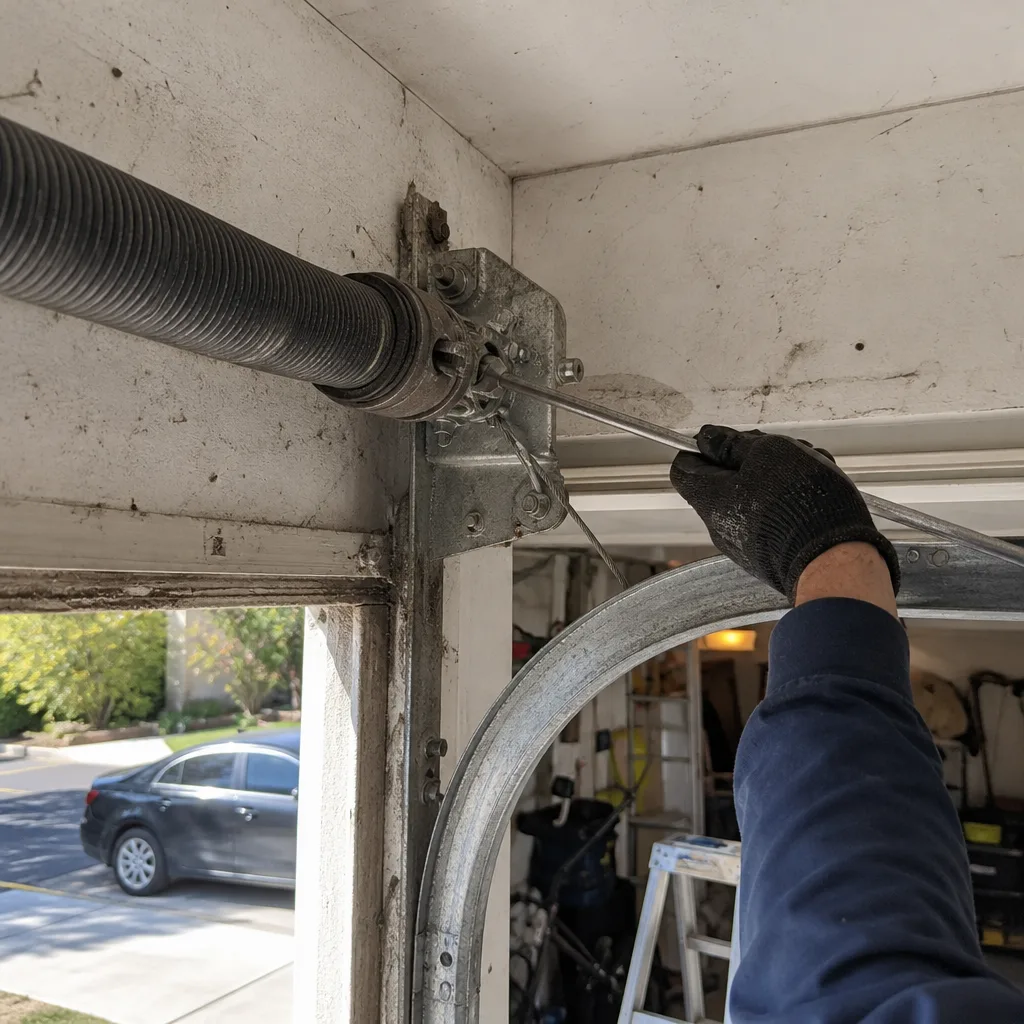 Before
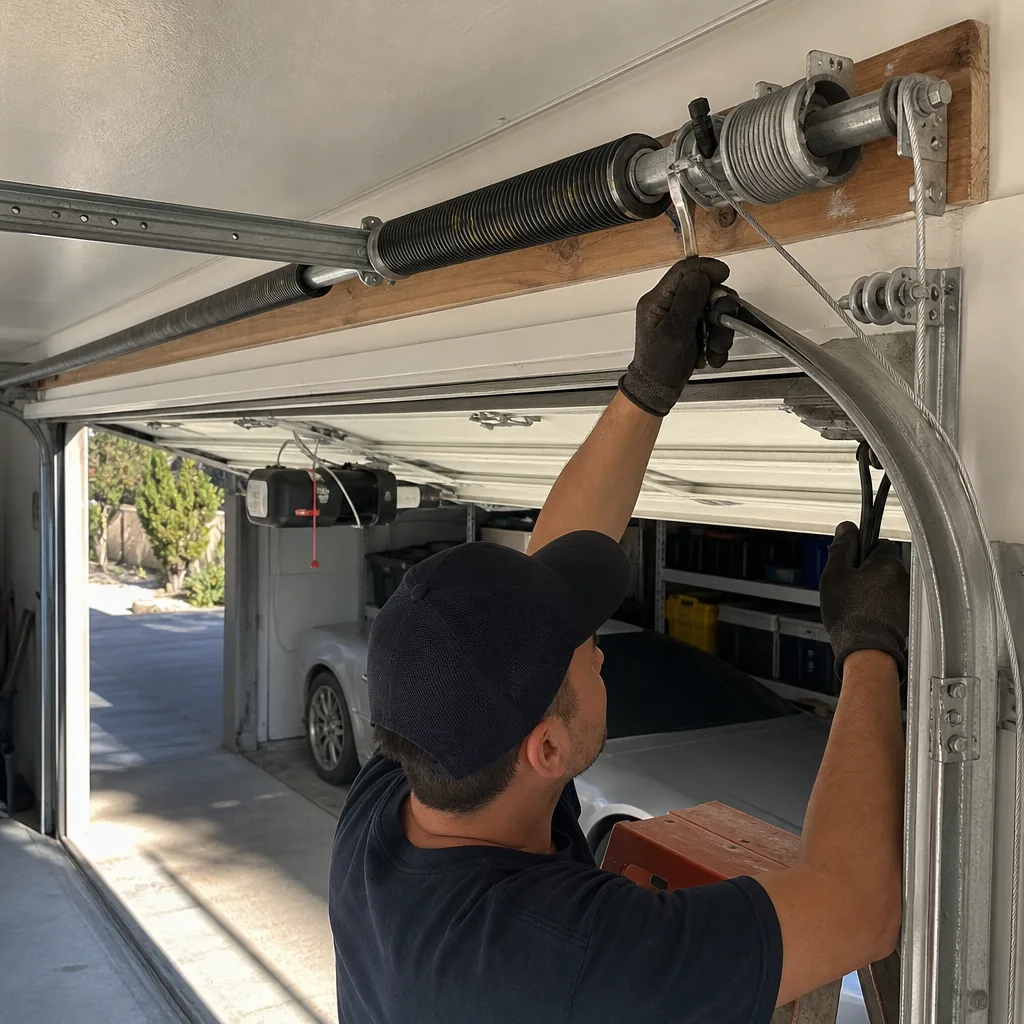 After